


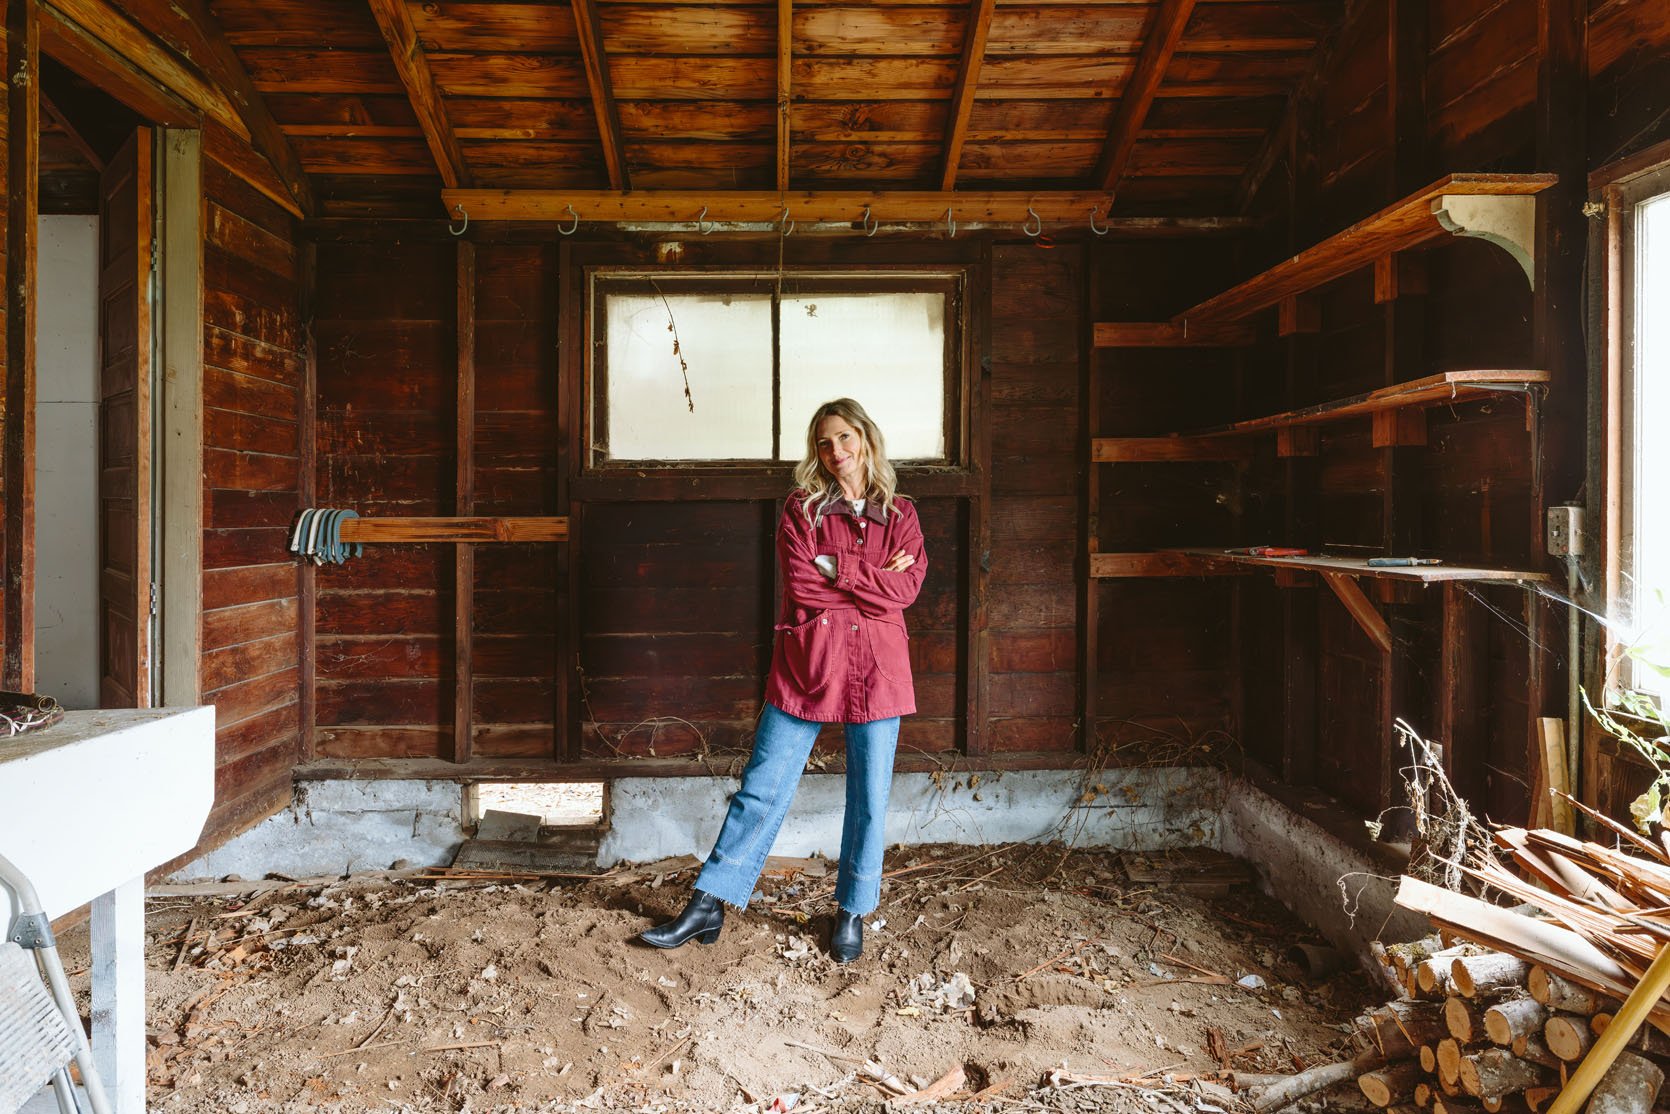
Well, it was fun. A guest cottage DIY demo was set up on a random morning recently, and Brian and I enlisted the help of my younger brother Ken, who is “born to demolish” (my parents would agree). I’d never done anything like this before, so frankly I thought I’d get used to it easily (I’m strong! I like to get my hands dirty!), but maybe that wasn’t as true as I thought. Here’s how it went, how much it cost, how long it took, and the results of a live demo.
“kitchen”

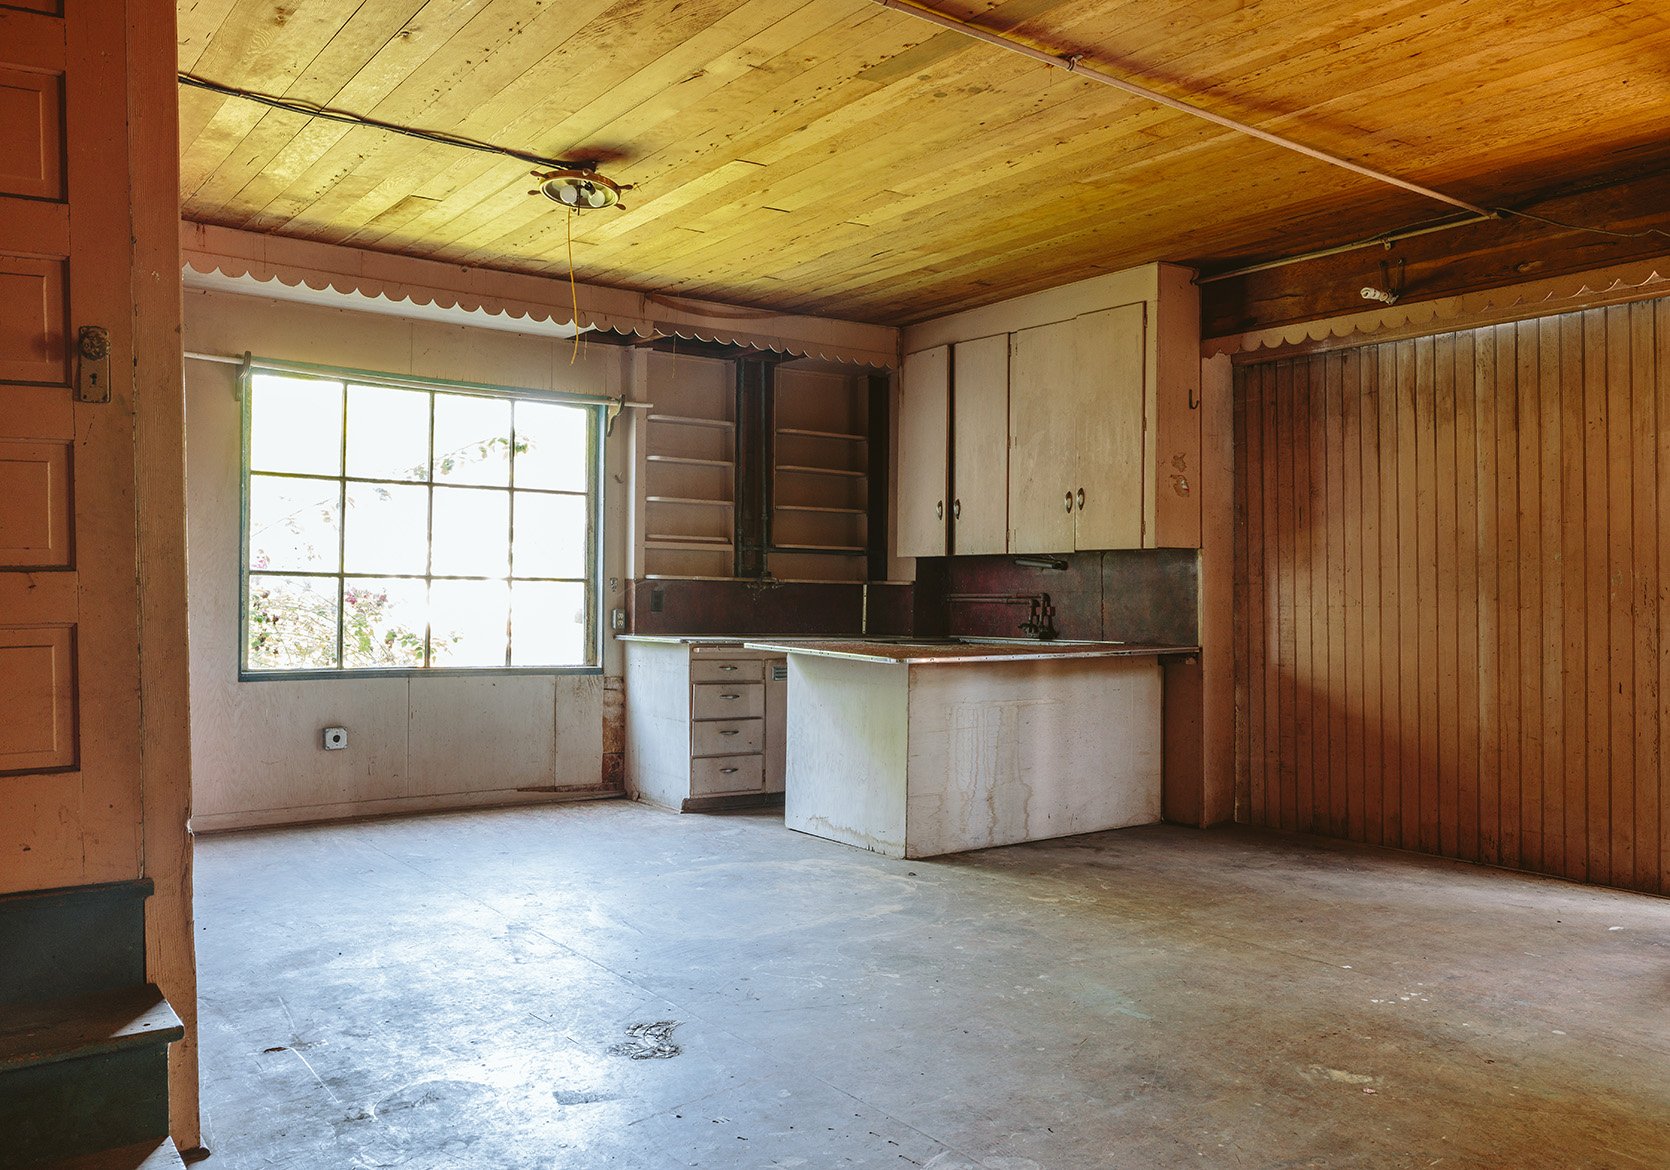
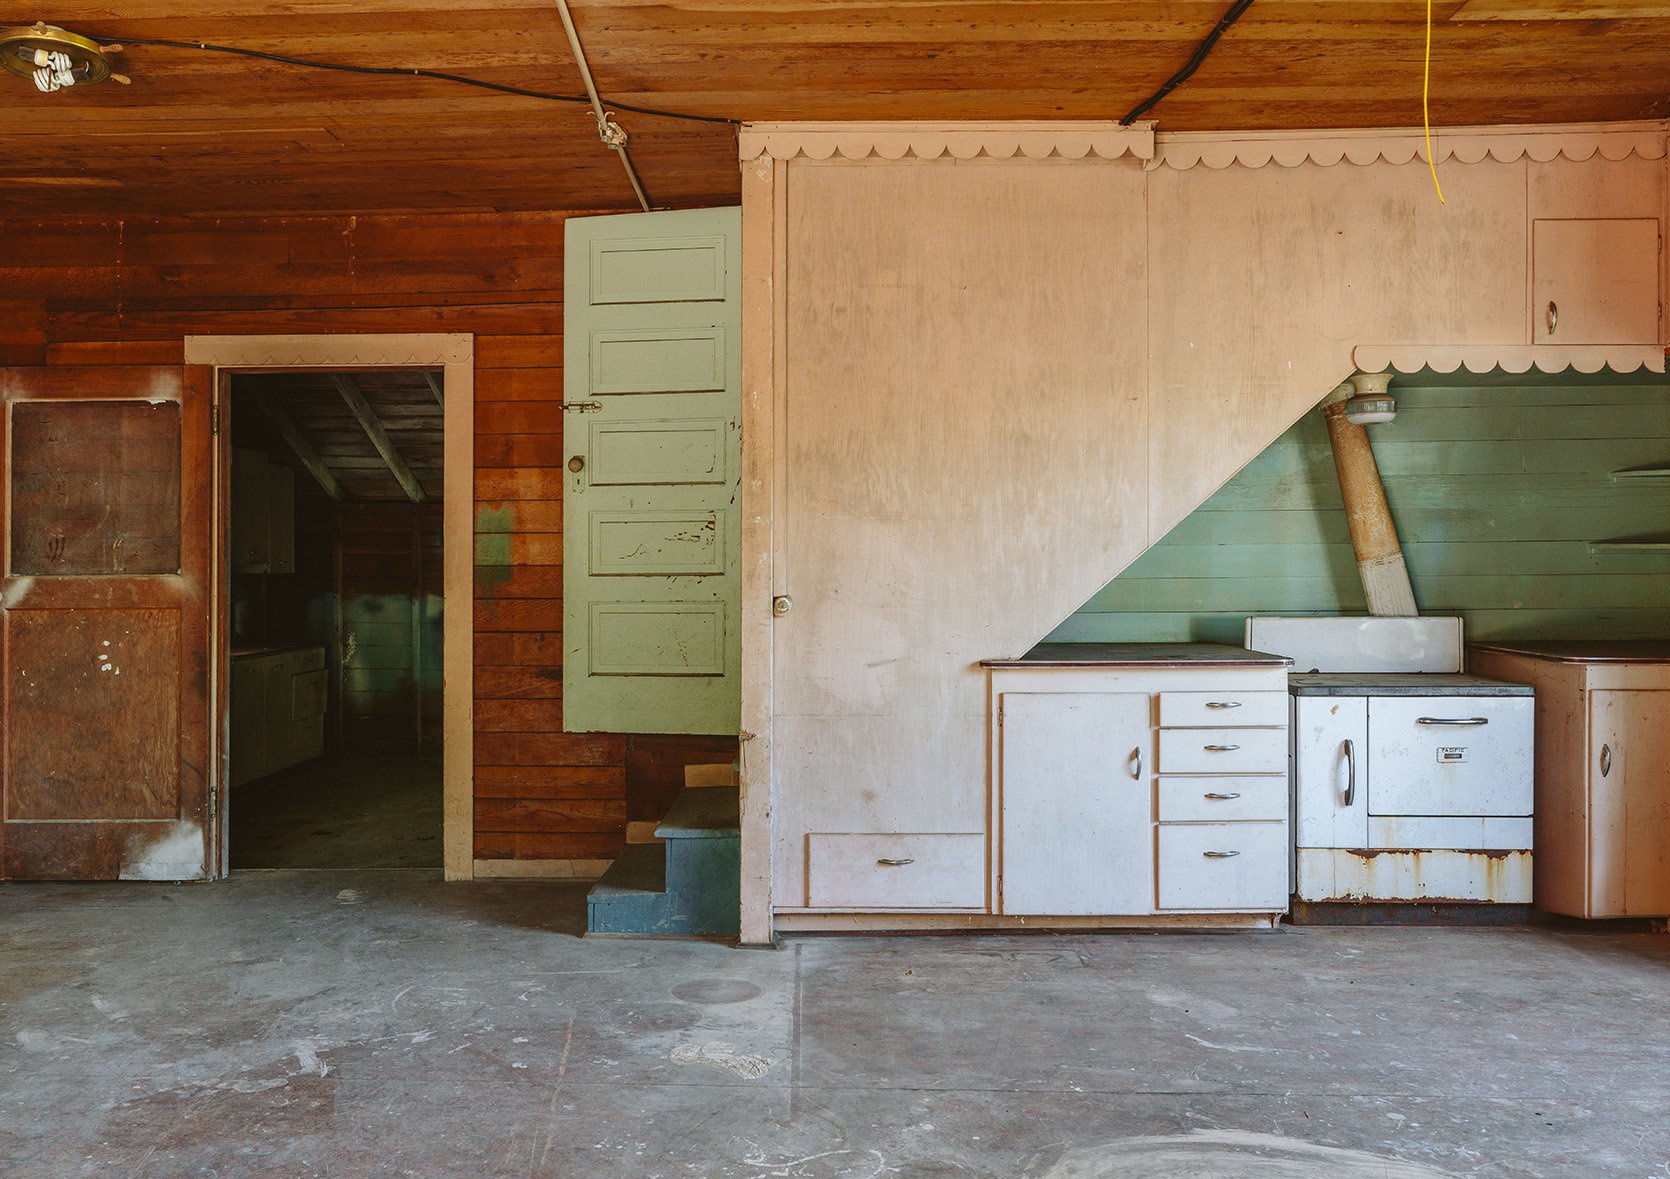
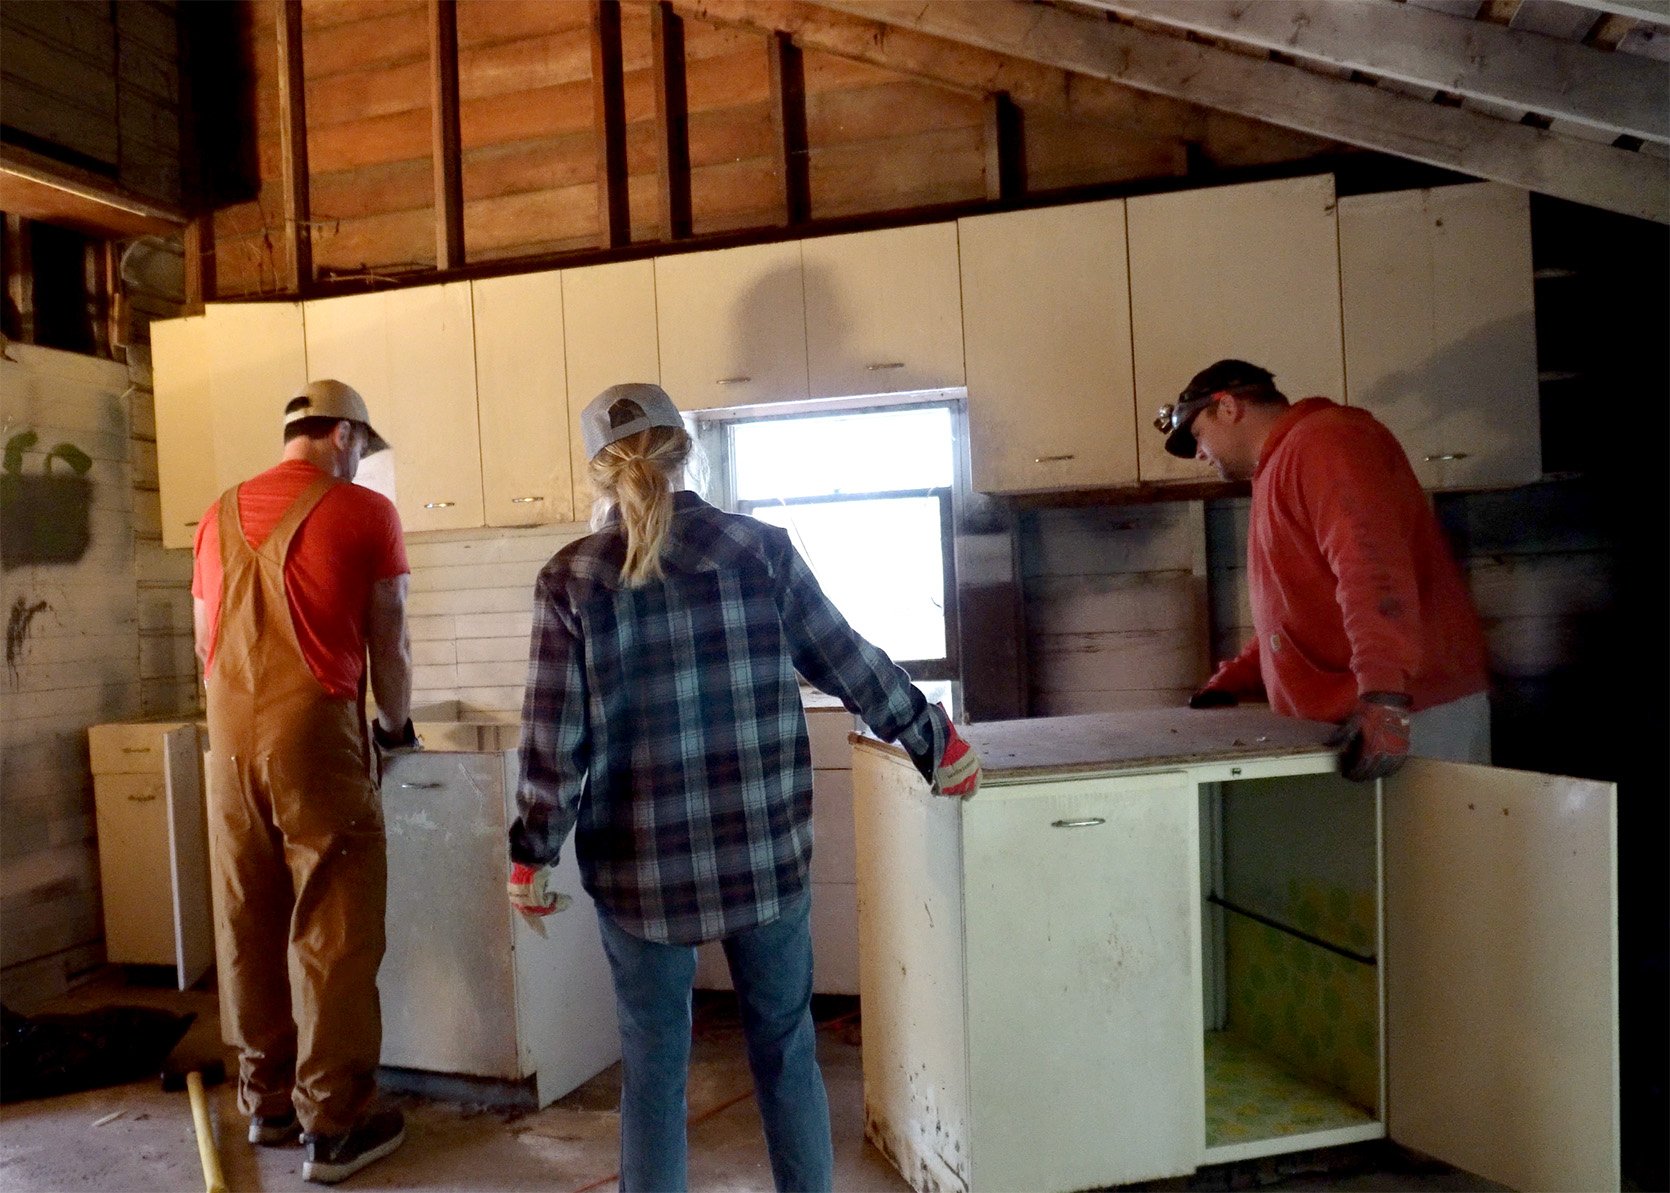
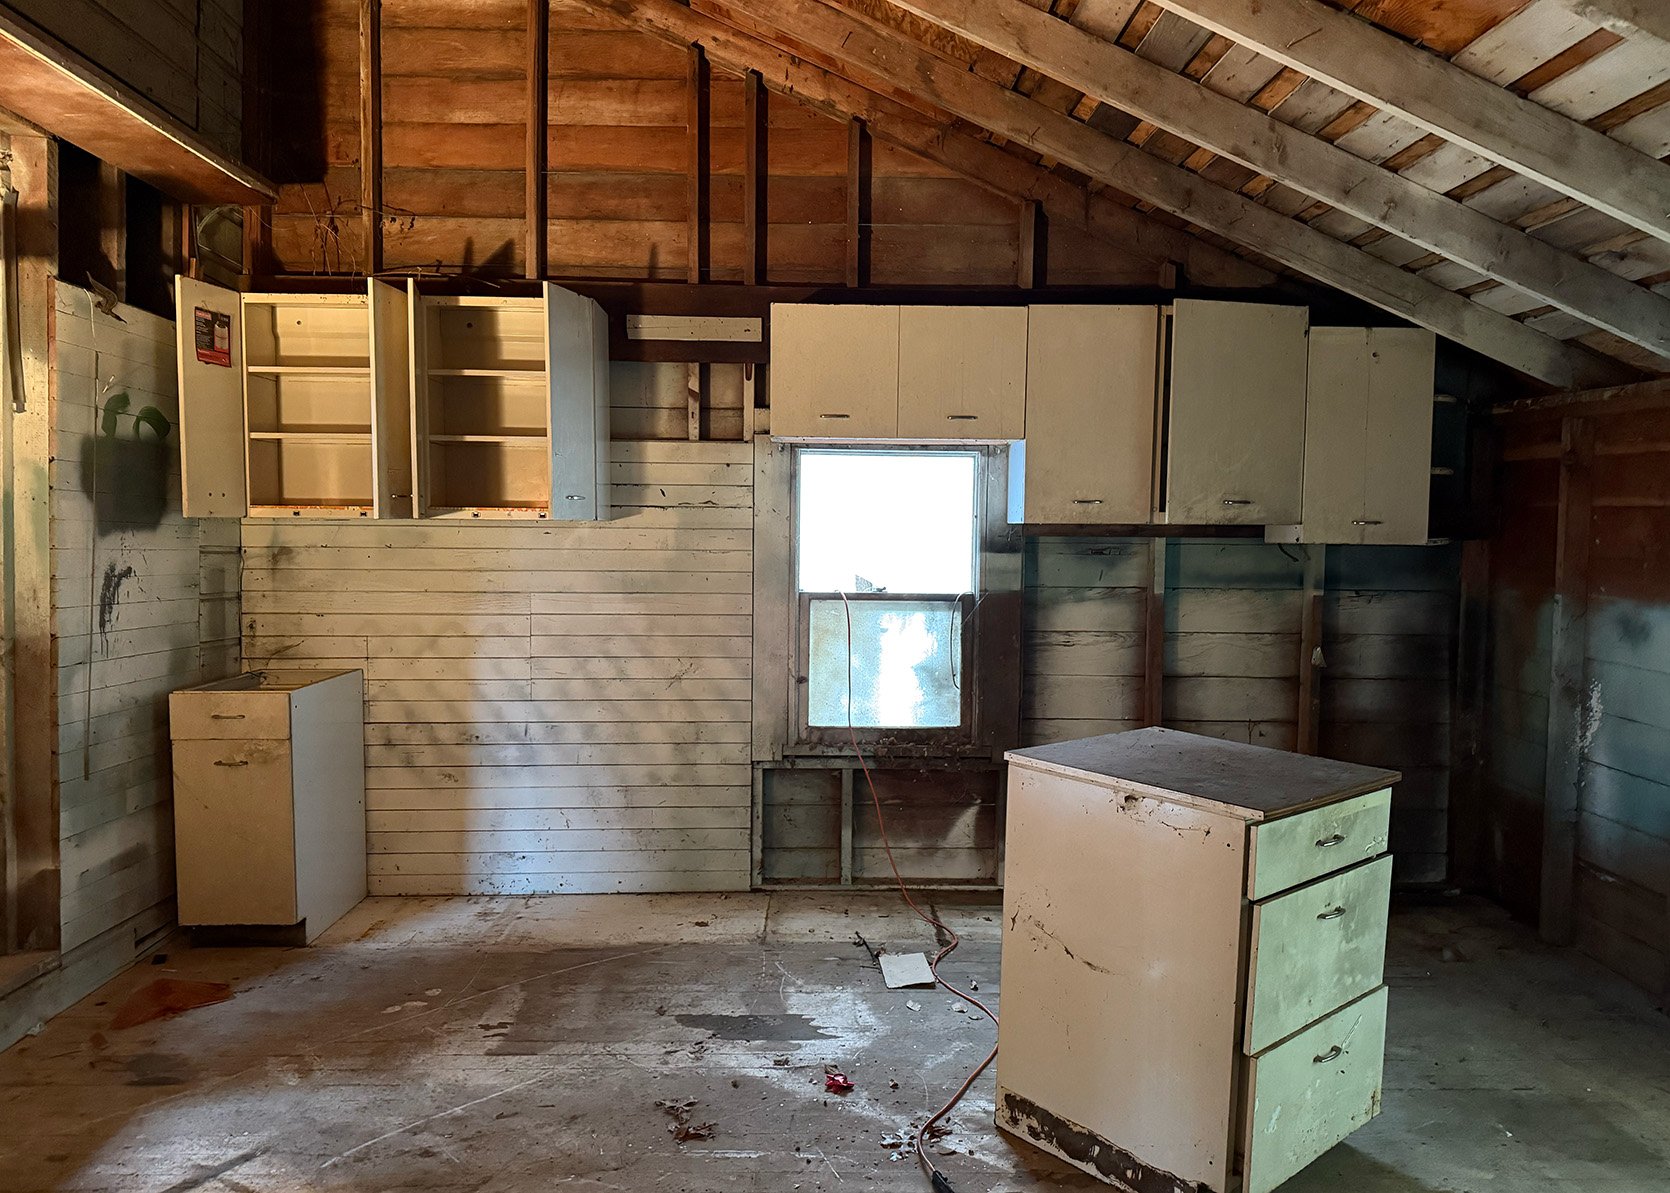
The kitchen was very small and in very vintage condition. Everything had to be removed and the only thing available was a floating shelf.
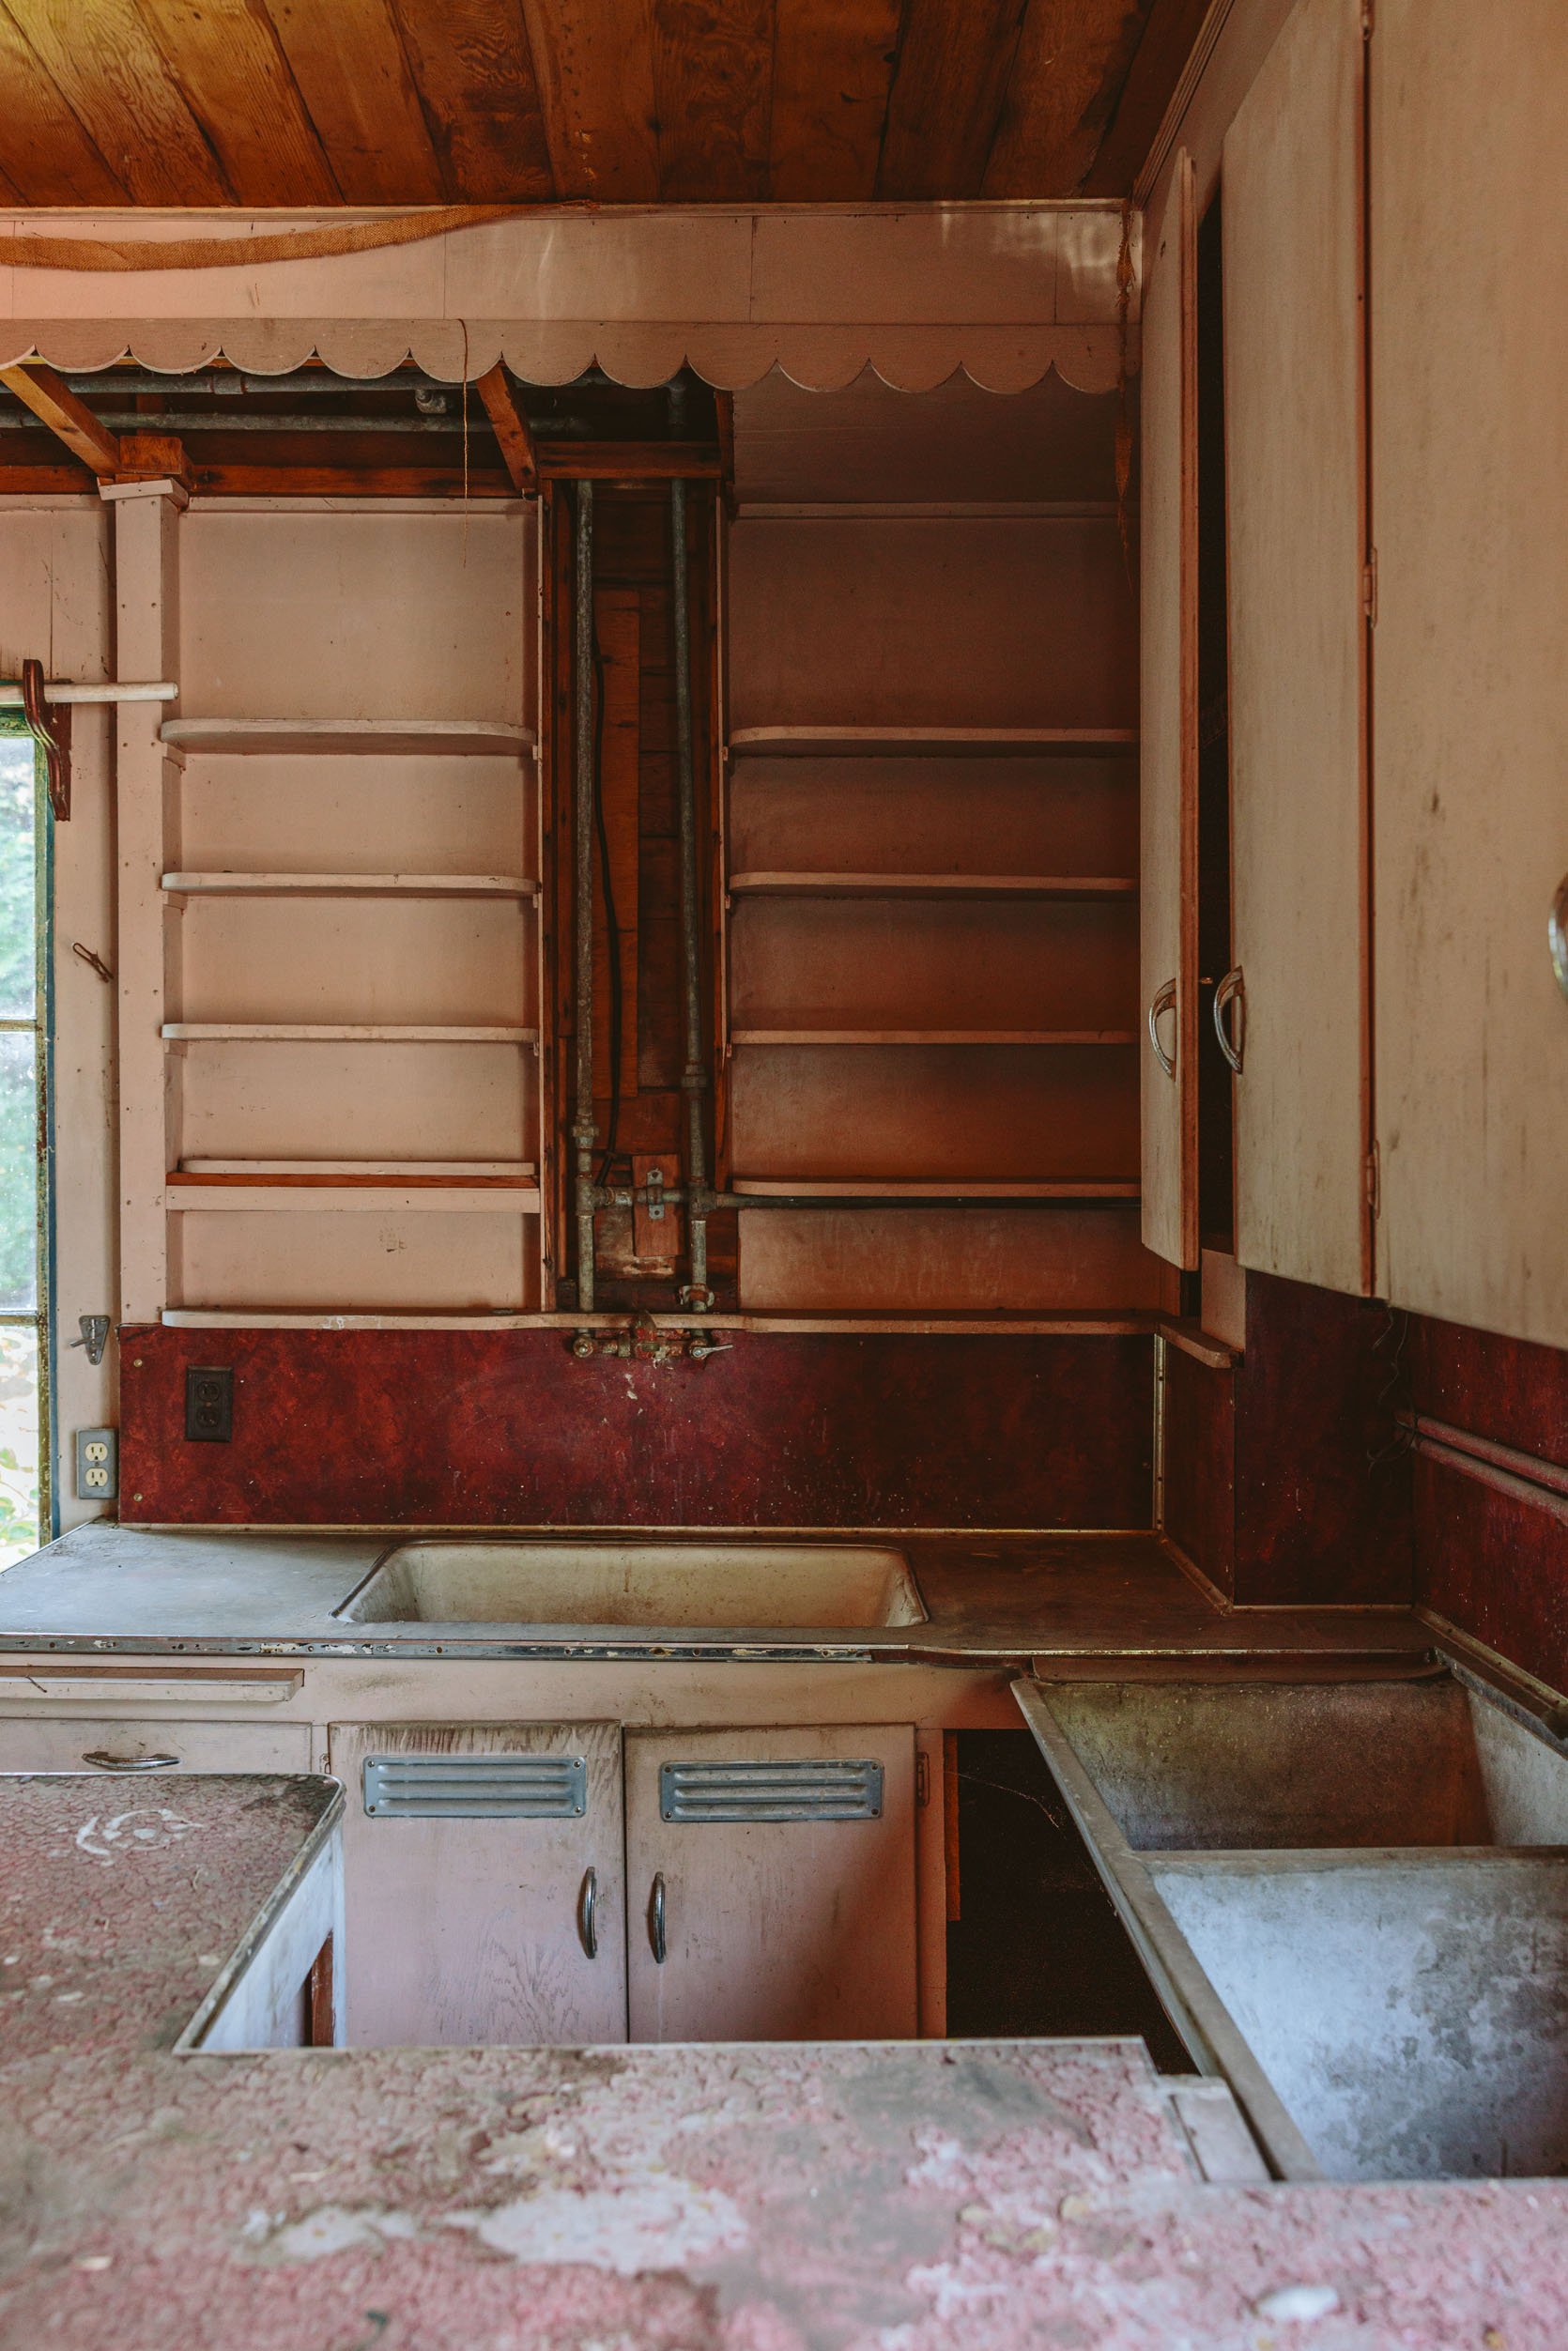
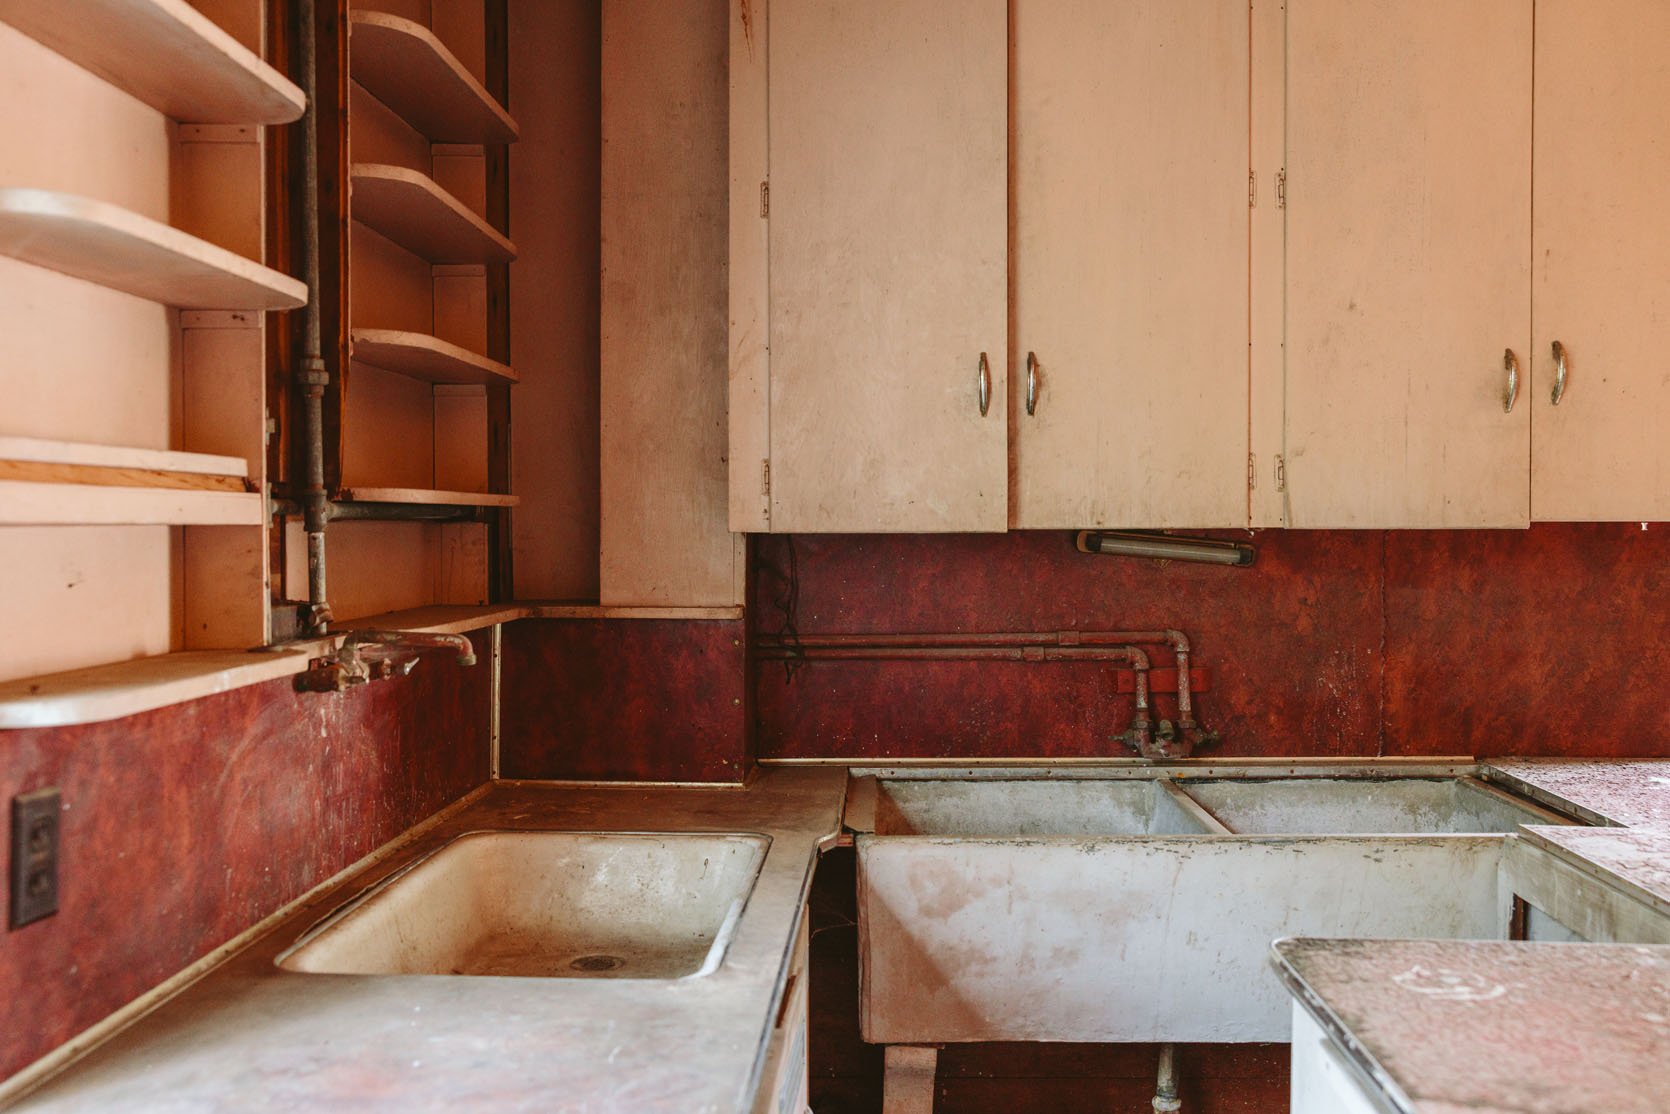
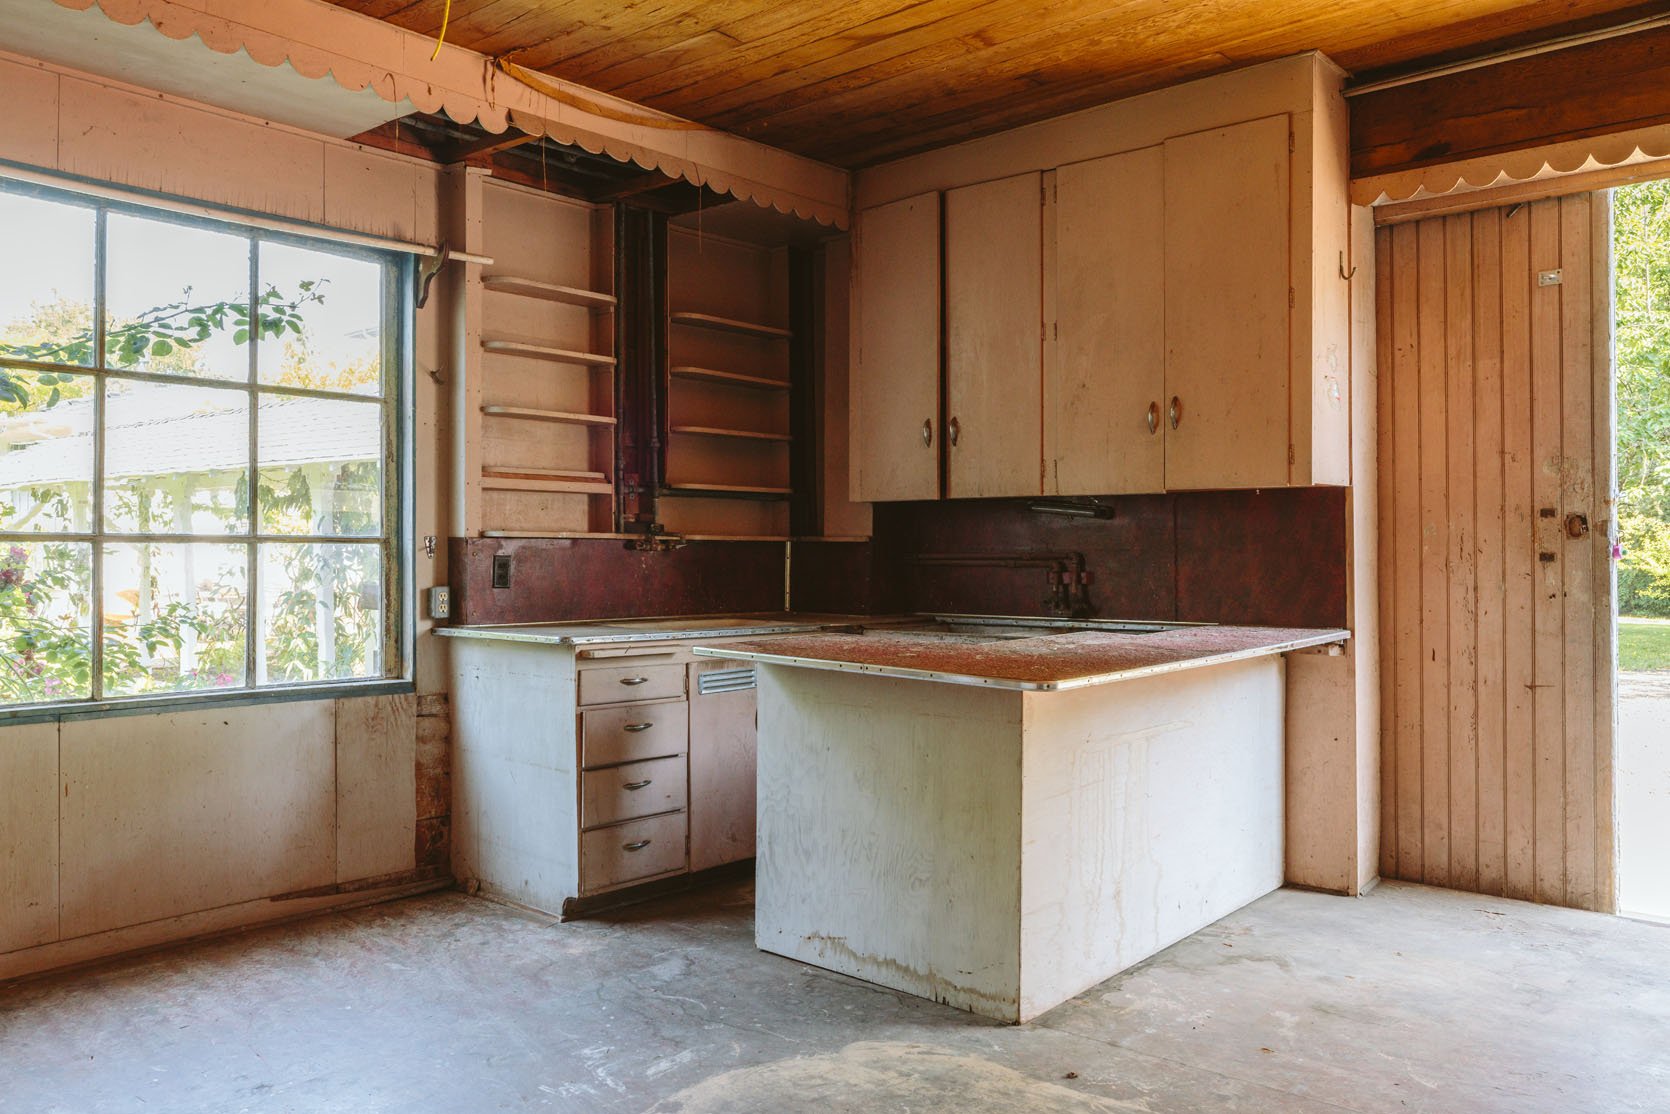
The island wasn’t actually attached and was very easy to just throw in the trash, but the cabinets were strong, hard wood, much harder. It would make great firewood if it wasn’t covered in lead. I don’t know why there were two sinks, but they were both very heavy and in poor condition.
During the DIY demo:

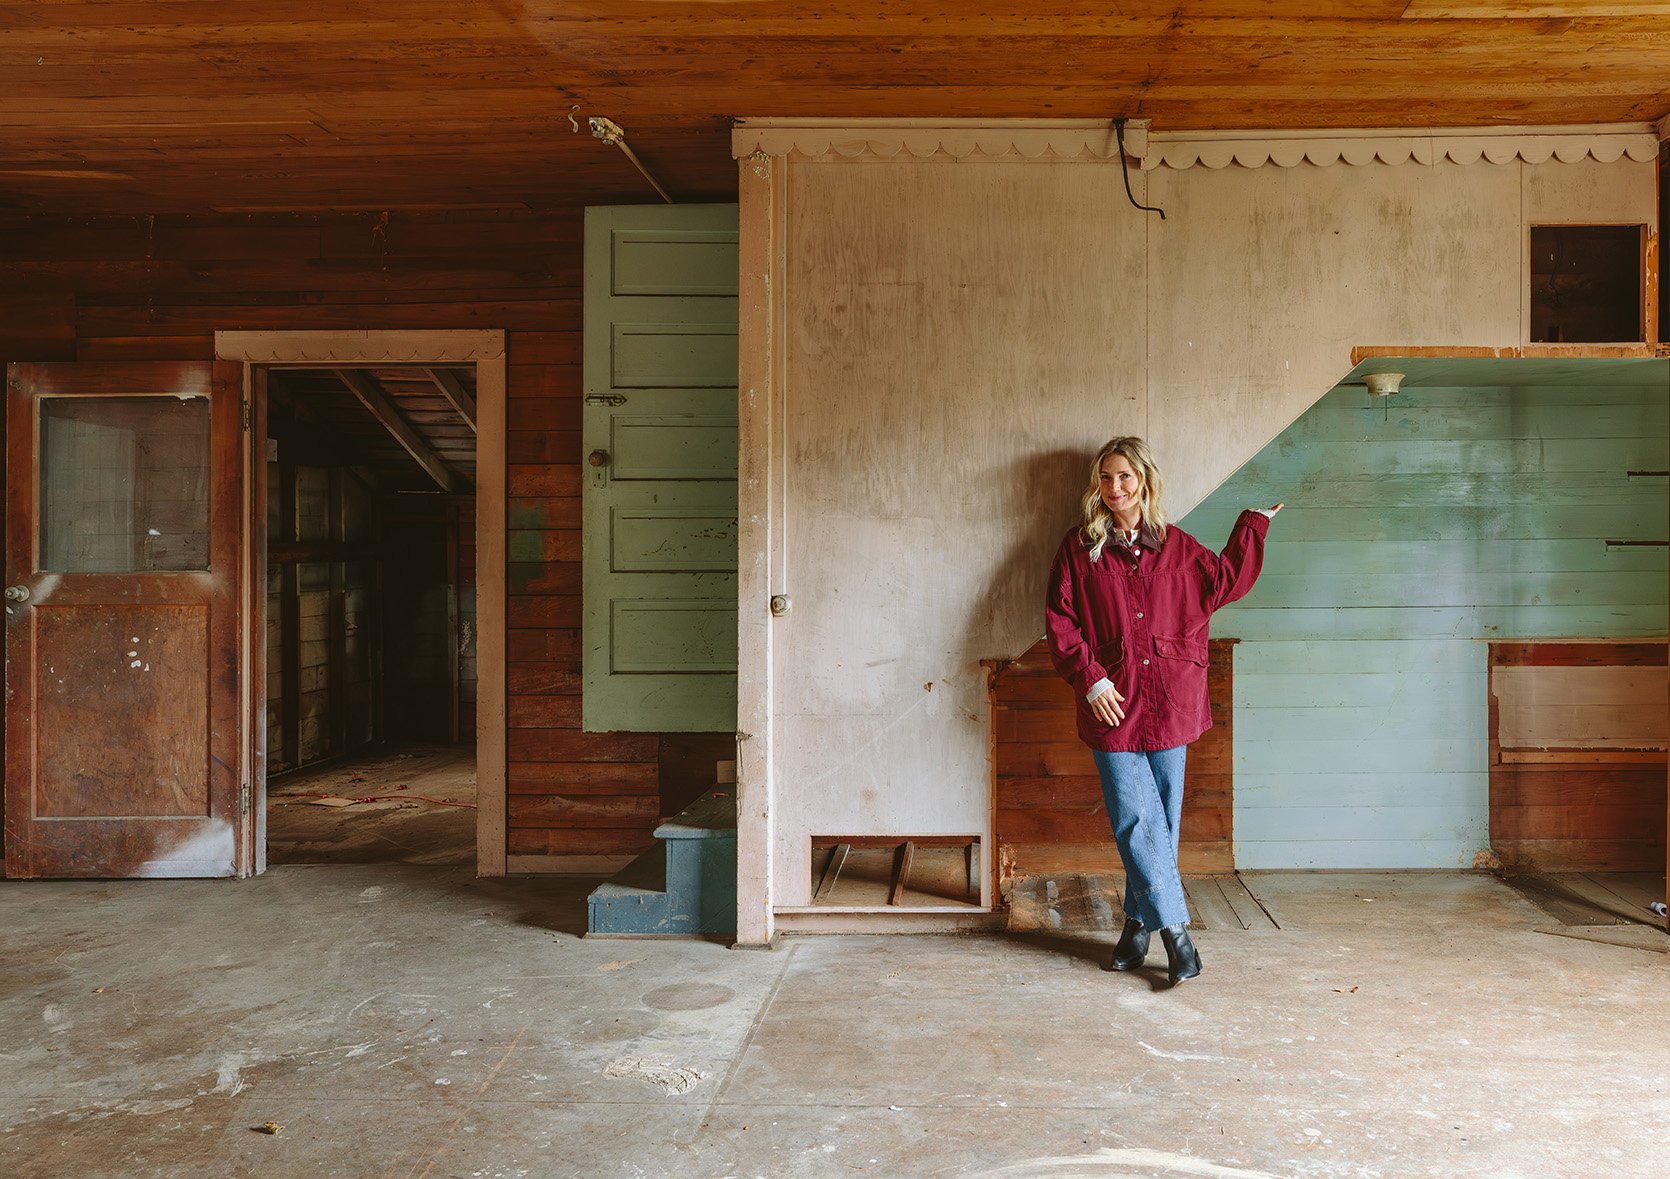
As it turns out, I’m more of a housewife than a home breaker. I didn’t trust myself to swing a sledgehammer with the force necessary to do the job. Maybe I was hesitant because I’m clumsy. I’m also the type of person who picks up furniture without clearing the way or making sure it will fit where I’m putting it. In other words, I’m a bit reckless and not very careful, so I was afraid that if I really tried, it would bounce back and hurt me, or worse, Brian or Ken.
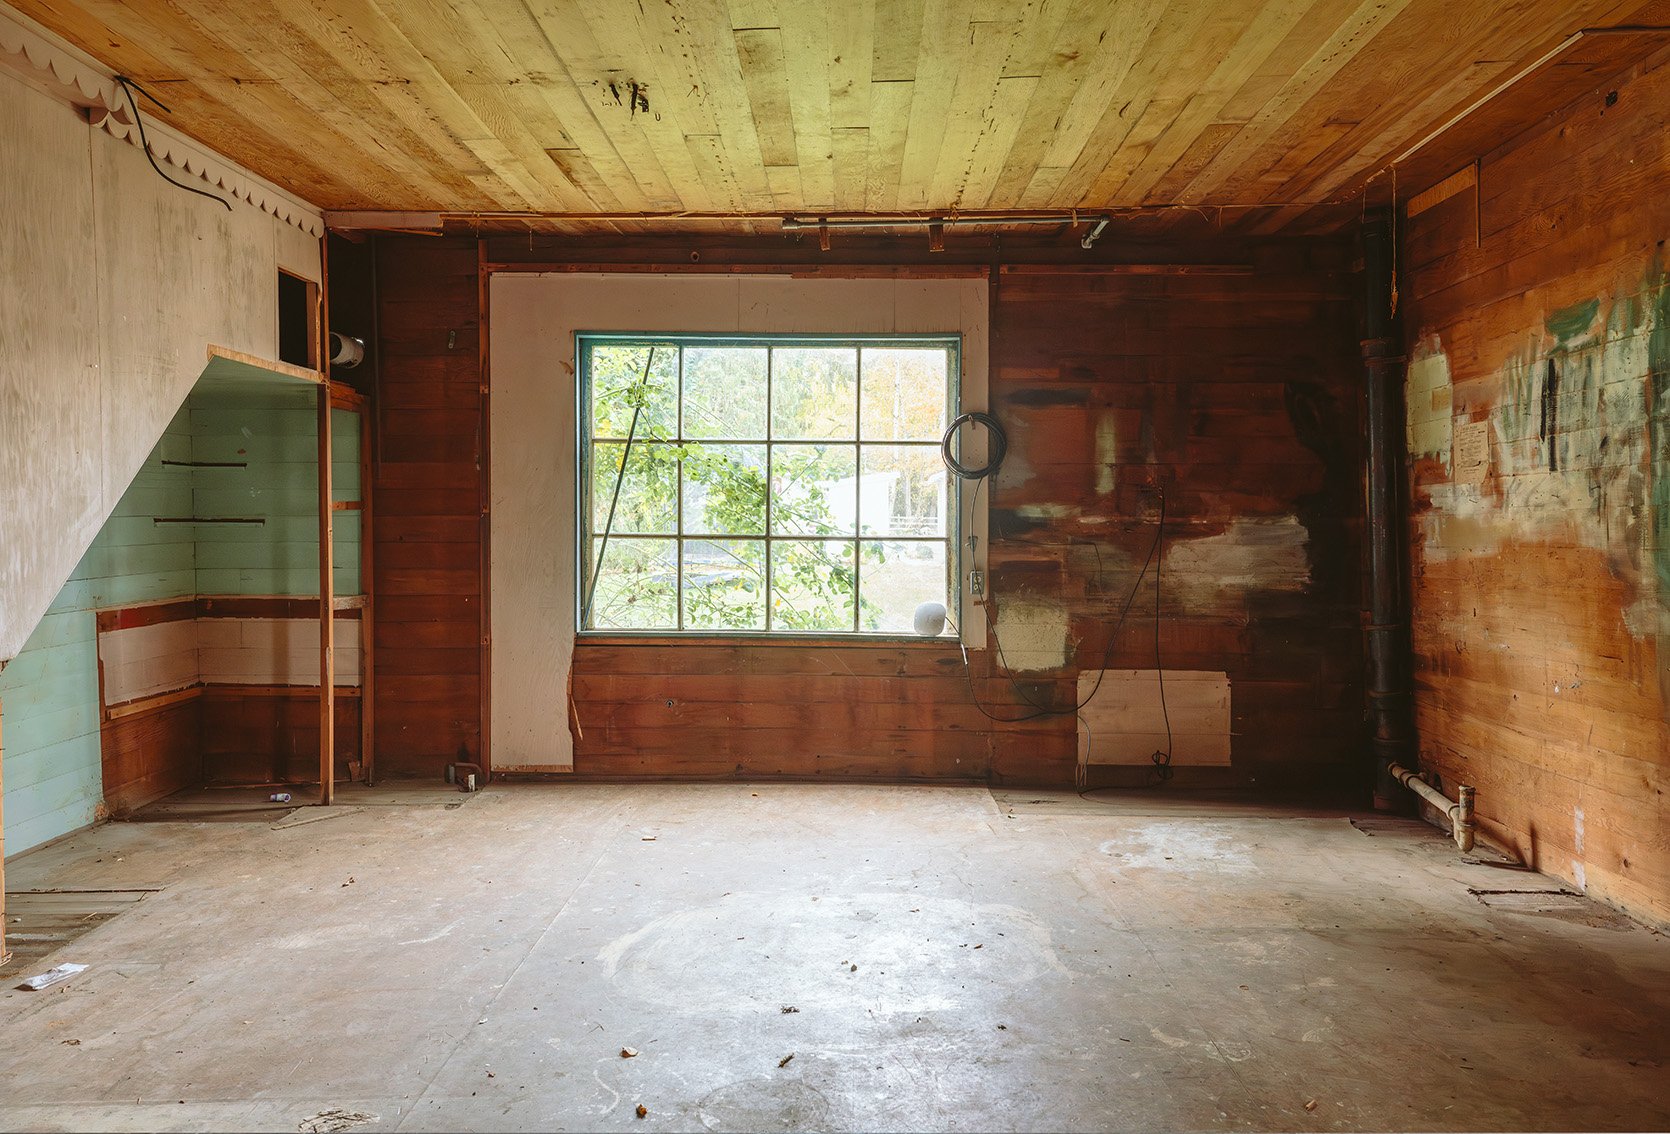
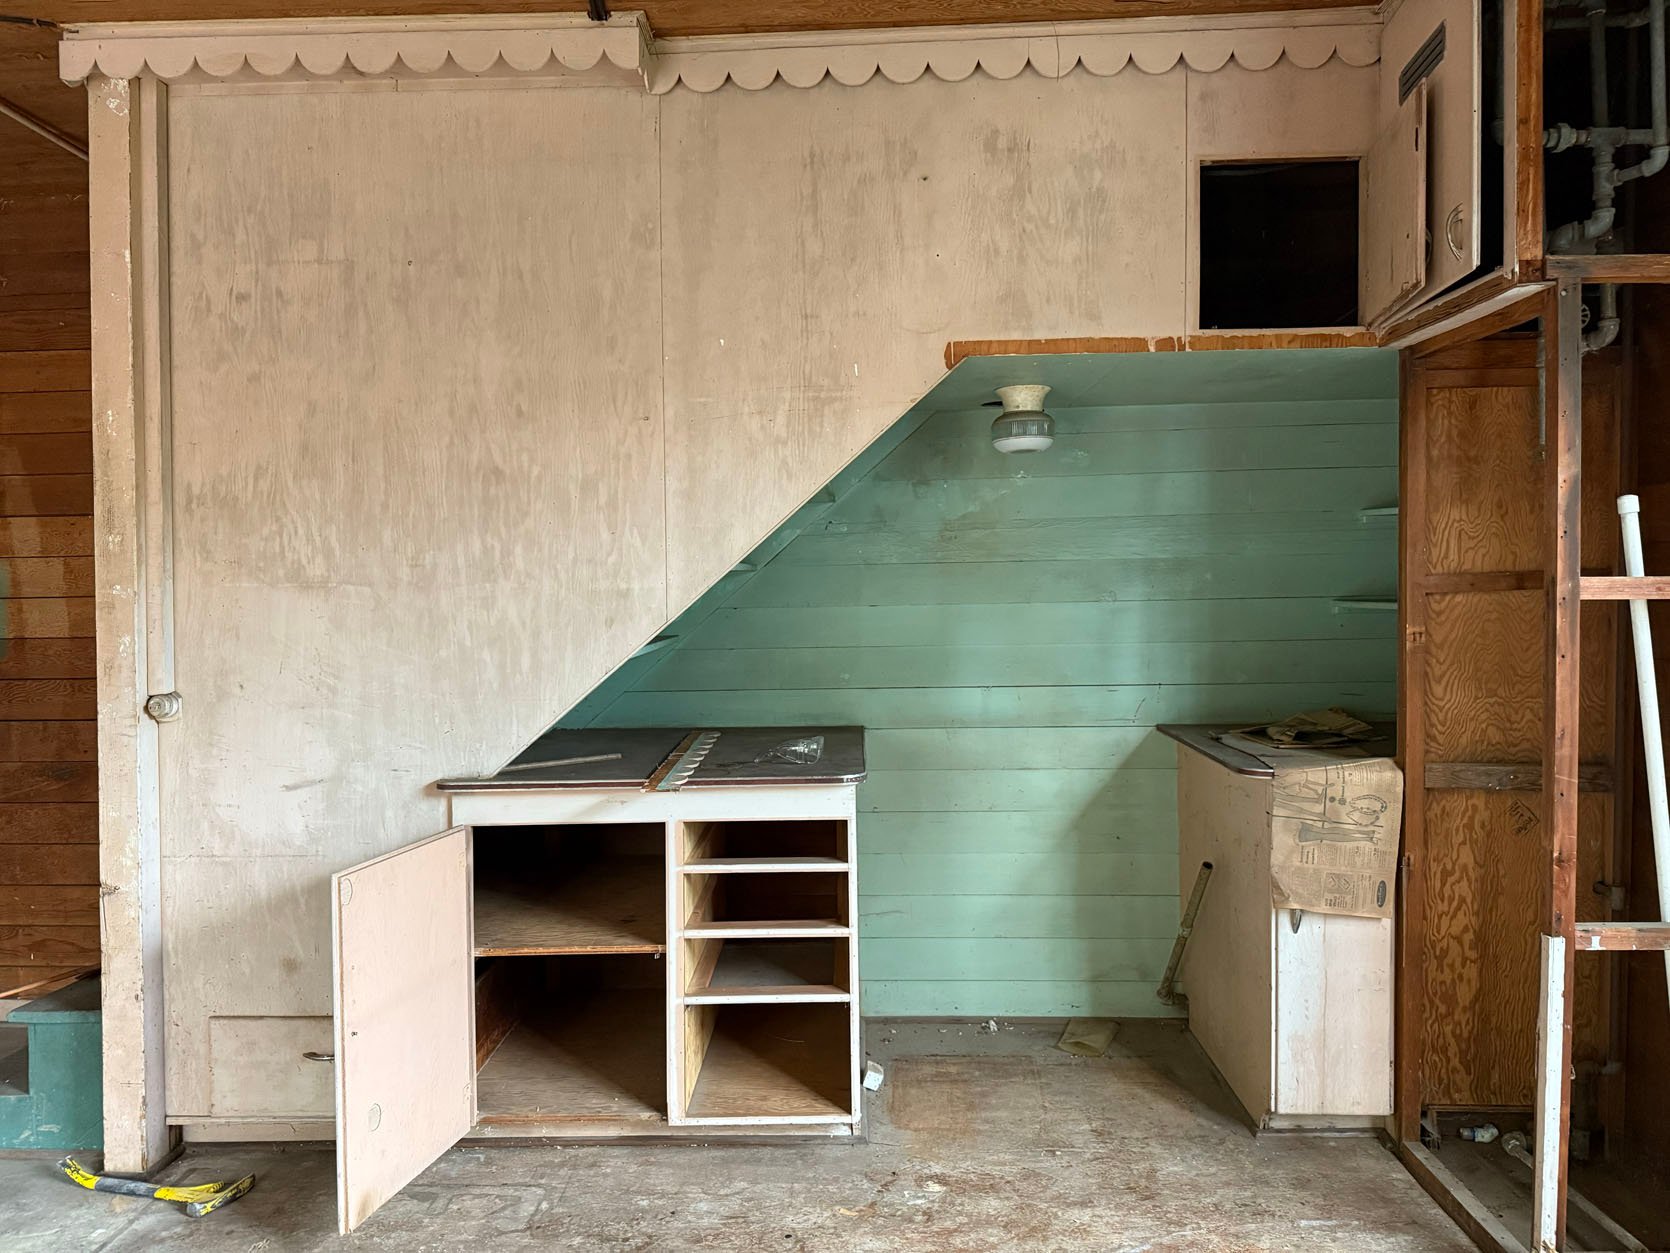
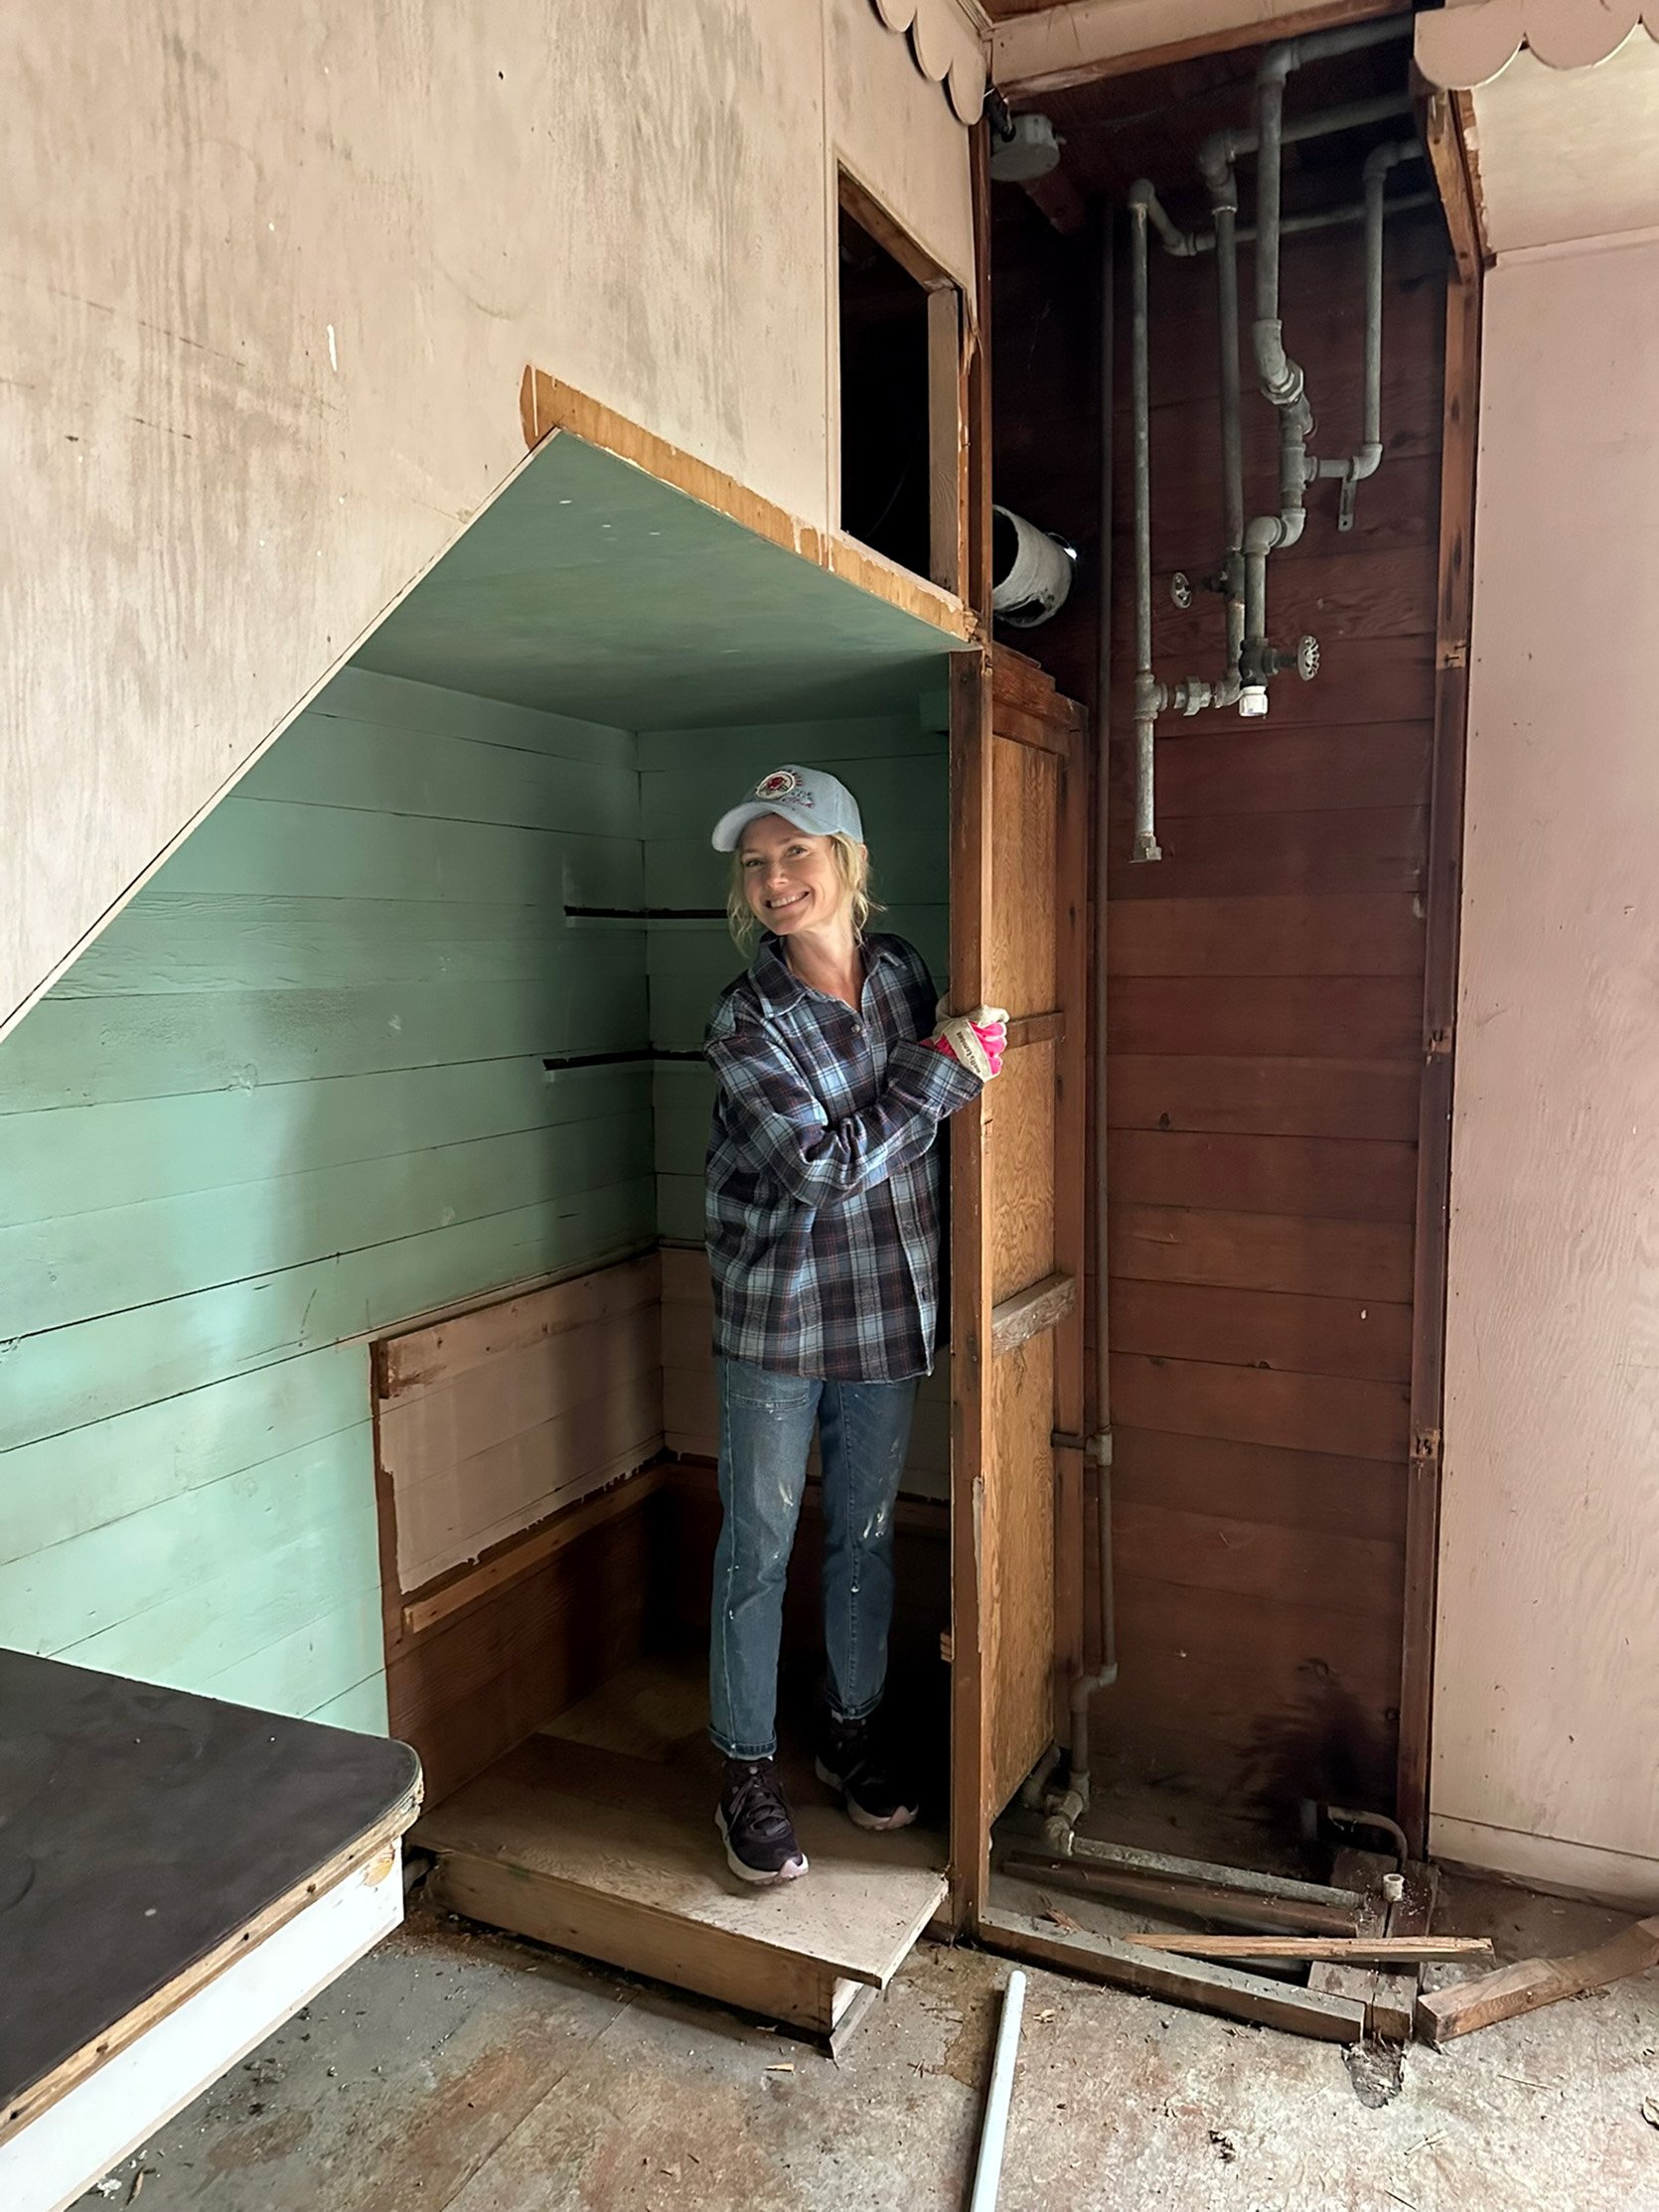
under the stairs
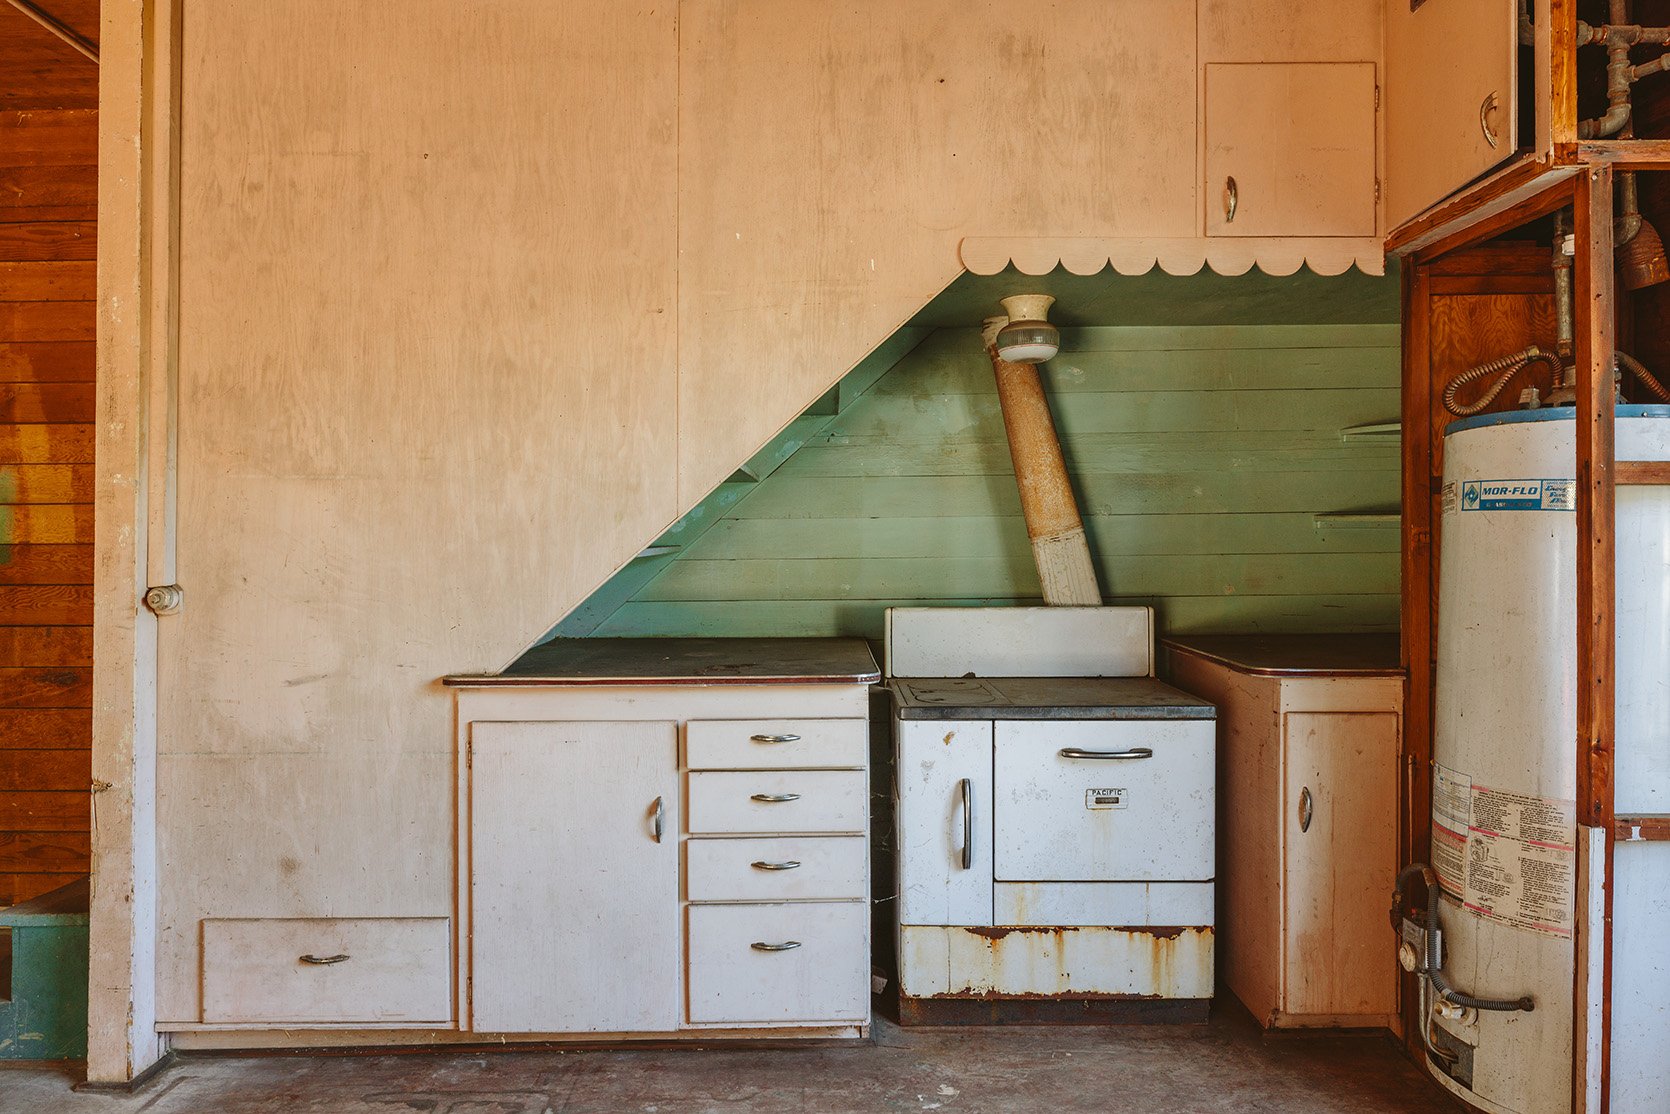
The area under the stairs had a vintage wood stove, cabinets, and an old water heater. Thanks to Ken and Brian, these were heavy and required a lot of muscle.
During the DIY demo:
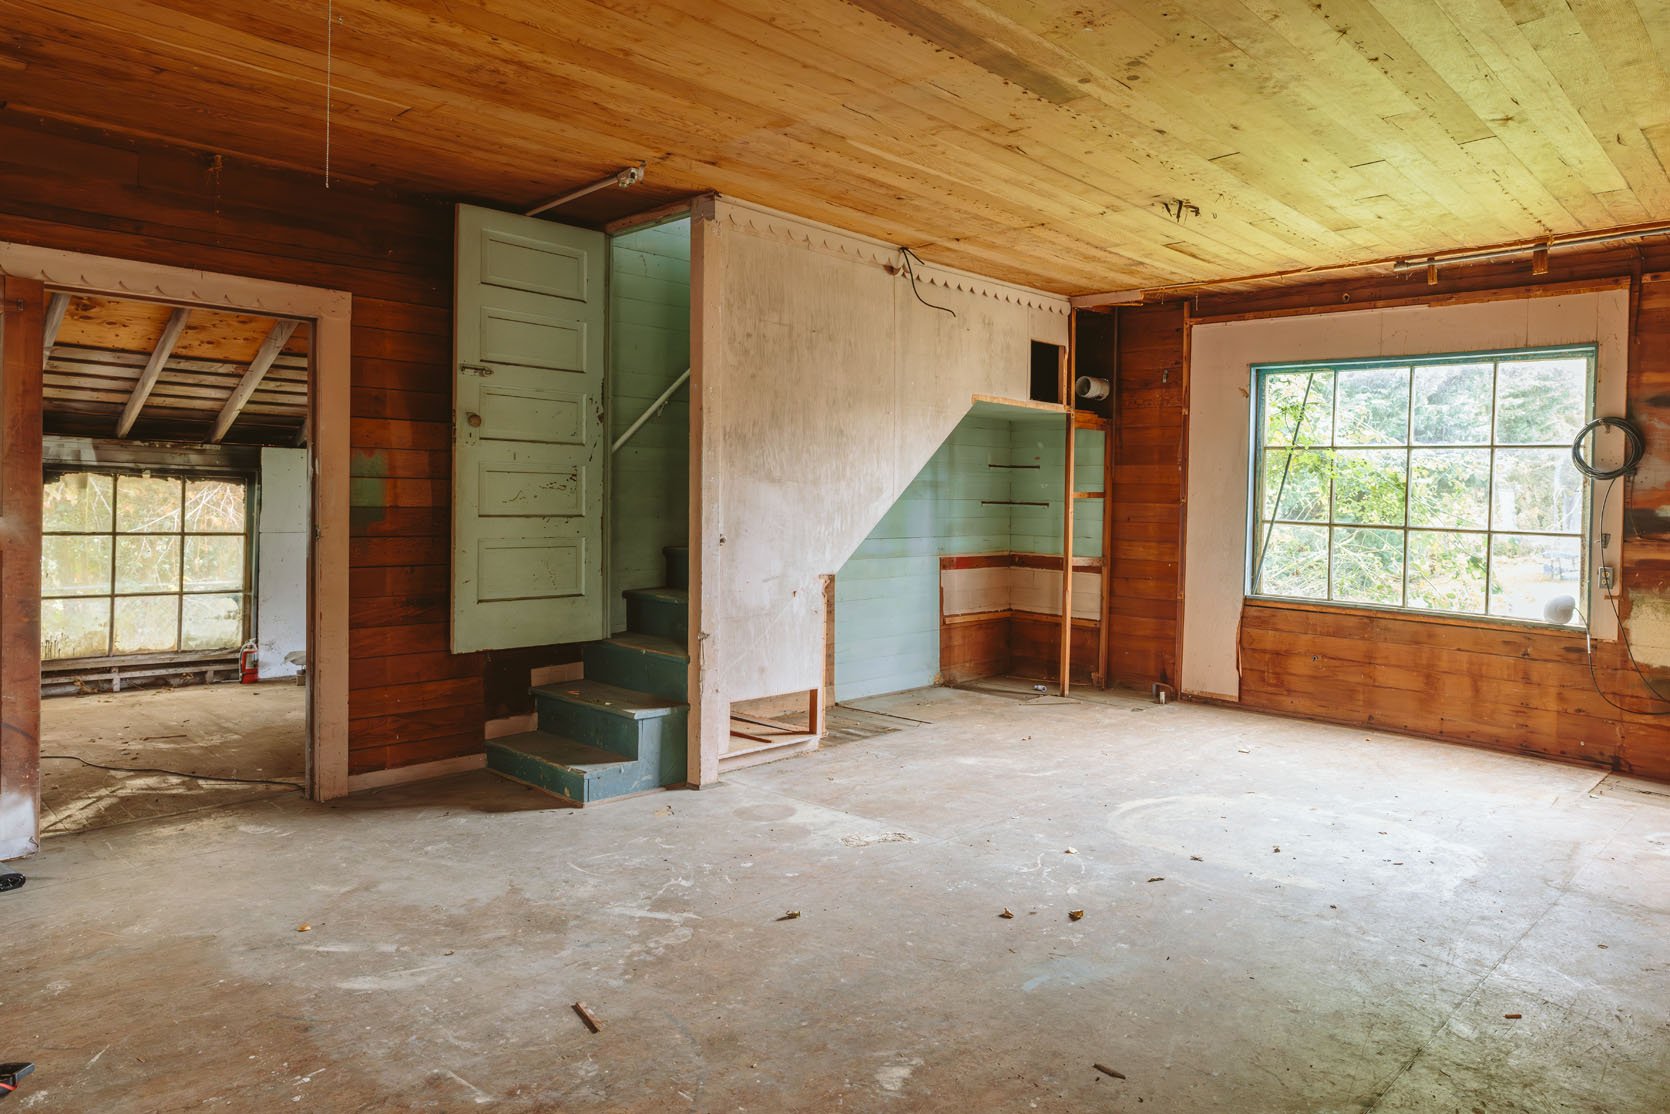
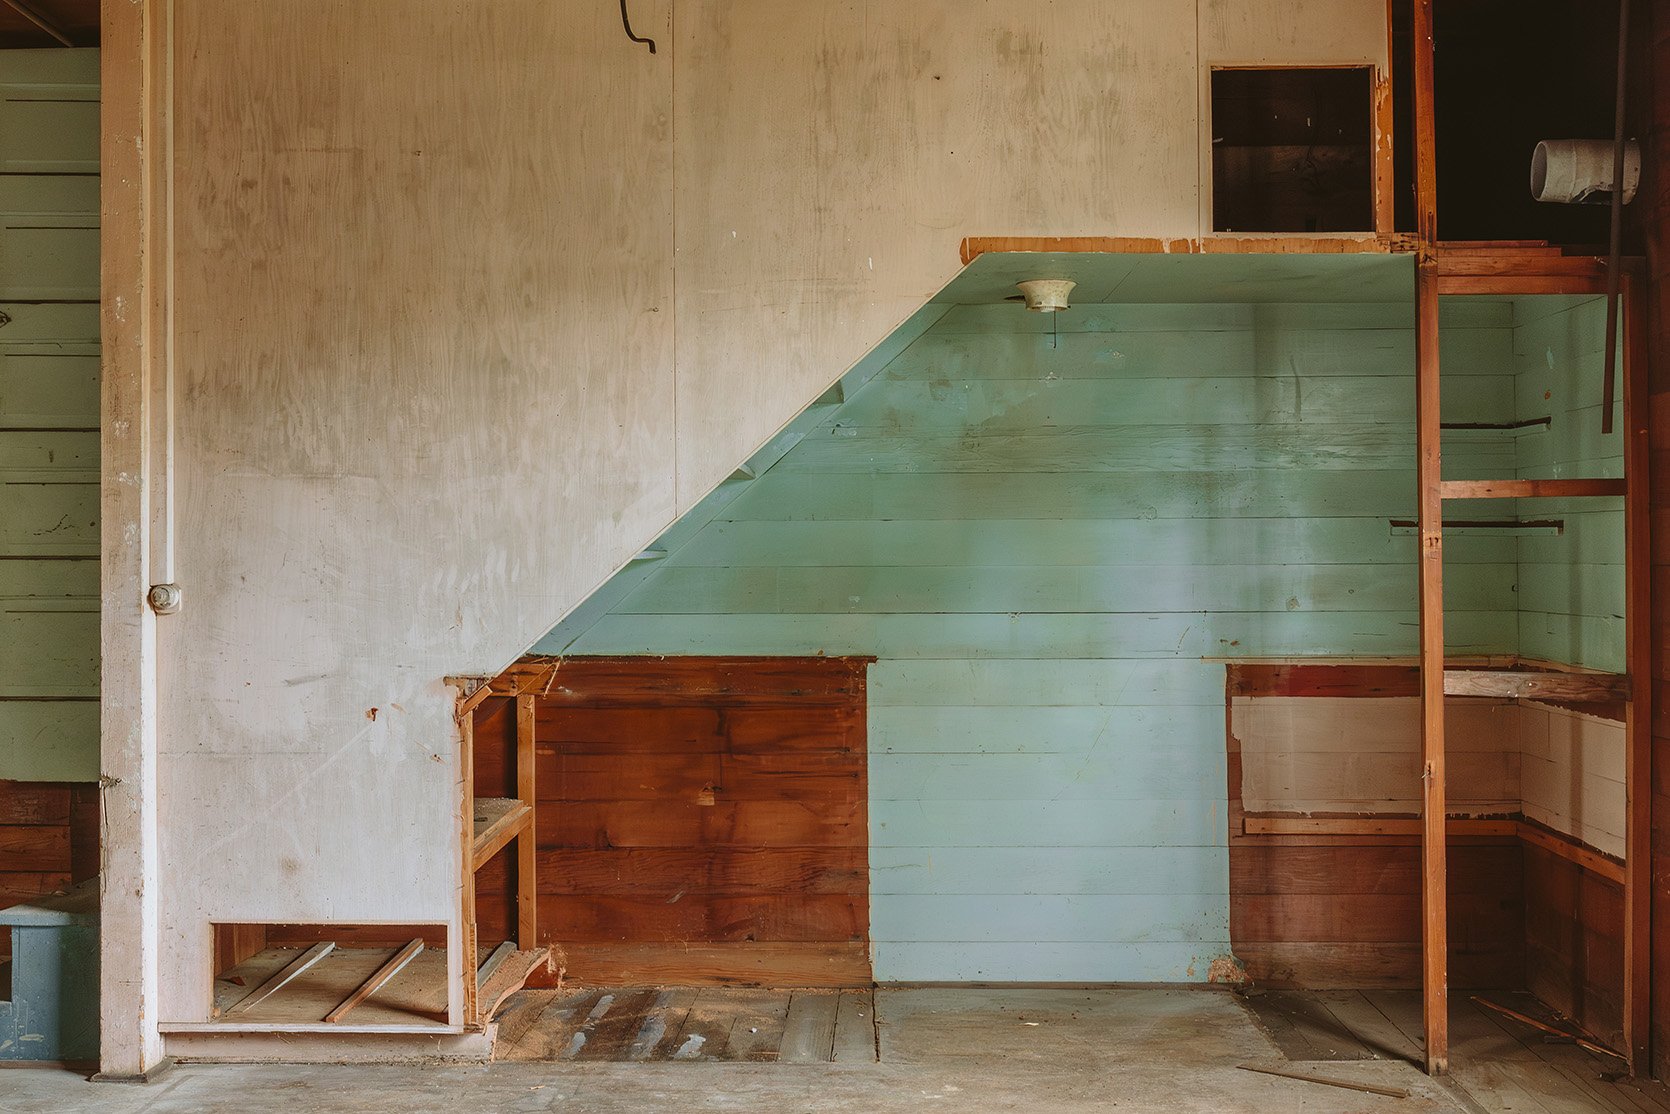
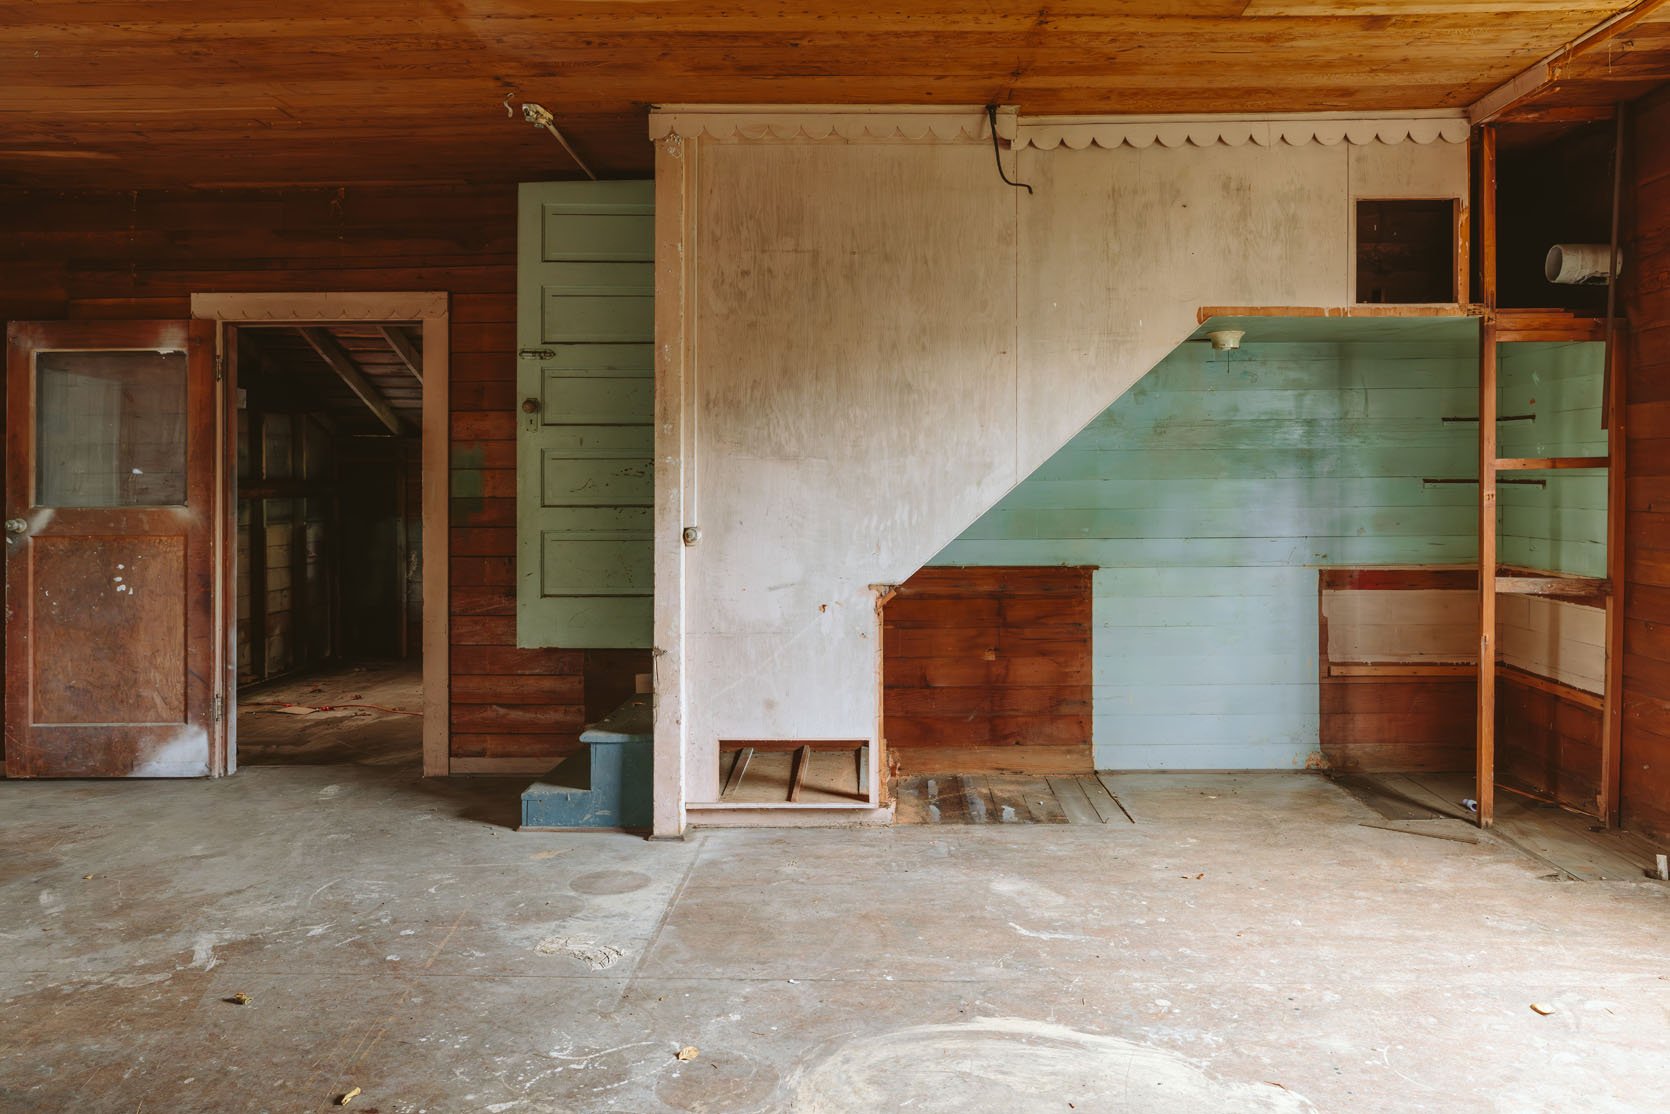
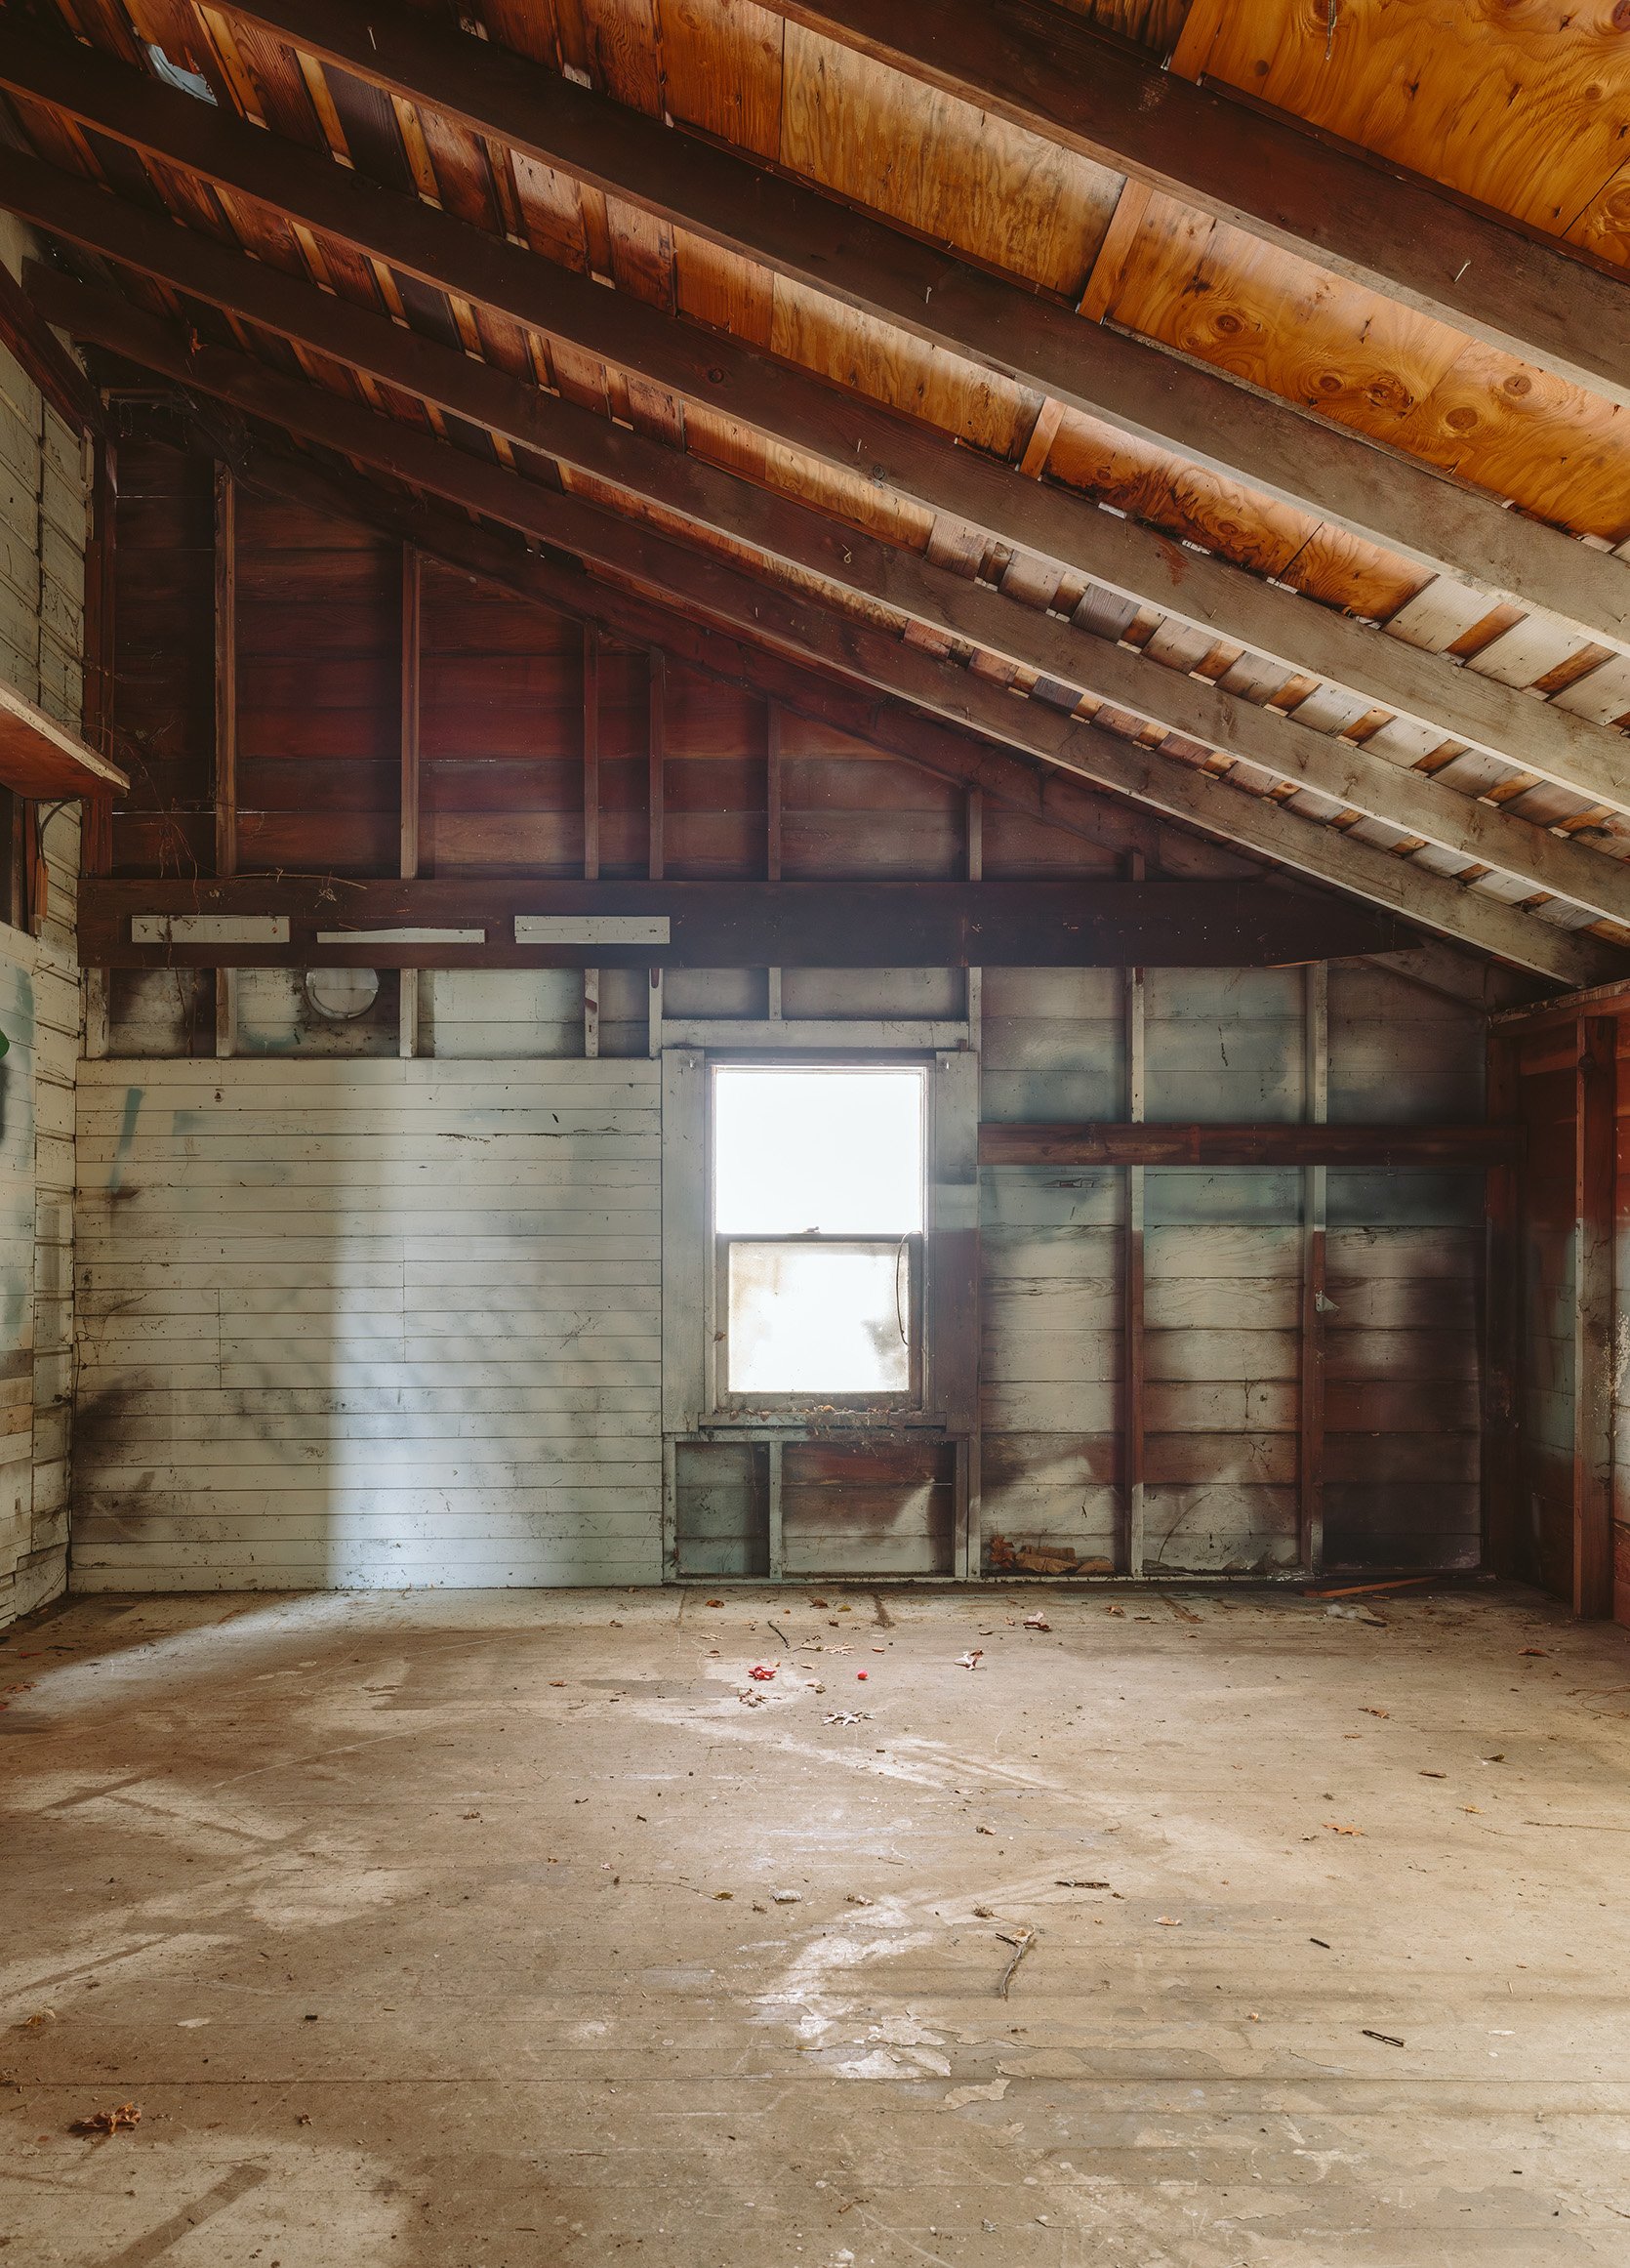
Now that it’s empty, you can lay out your kitchen with better dimensions. I’m playing with spoke (A design program that aims to be very intuitive yet powerful for people like me who don’t know AutoCAD or SketchUp). I’ll show you what I’m working on soon – it’s incredibly fun.

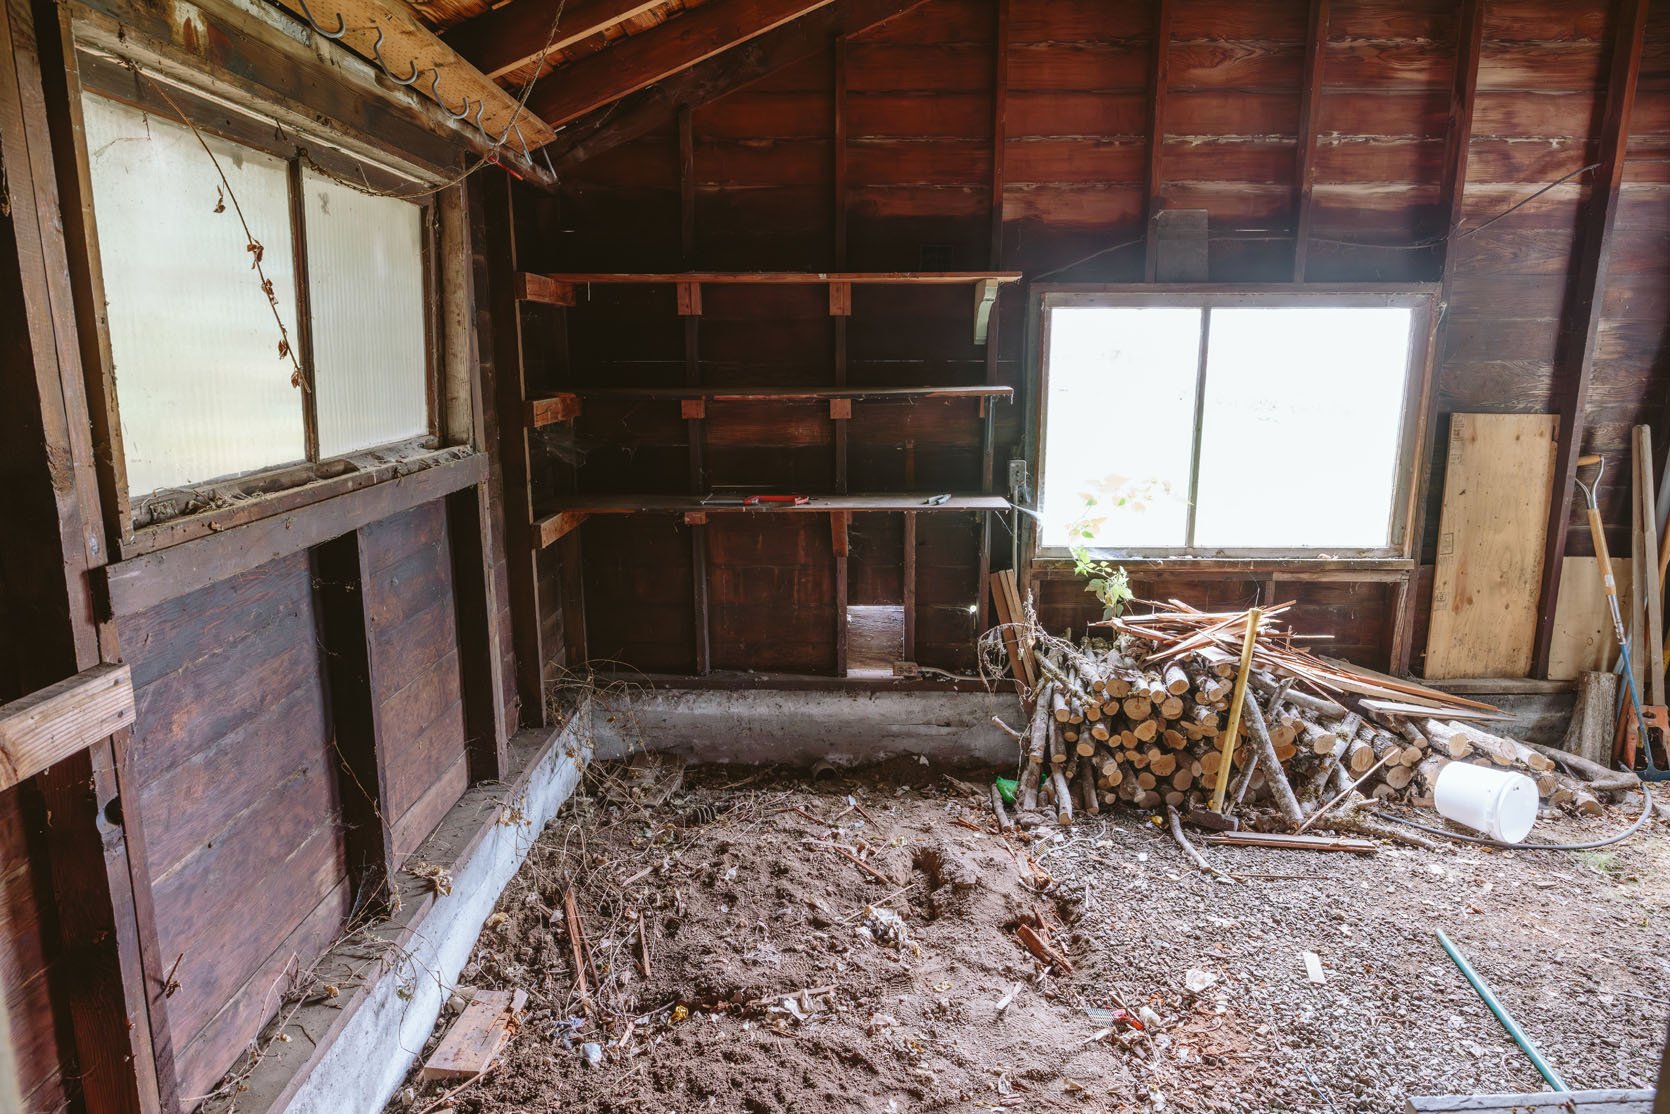
“Canning room”
in front:
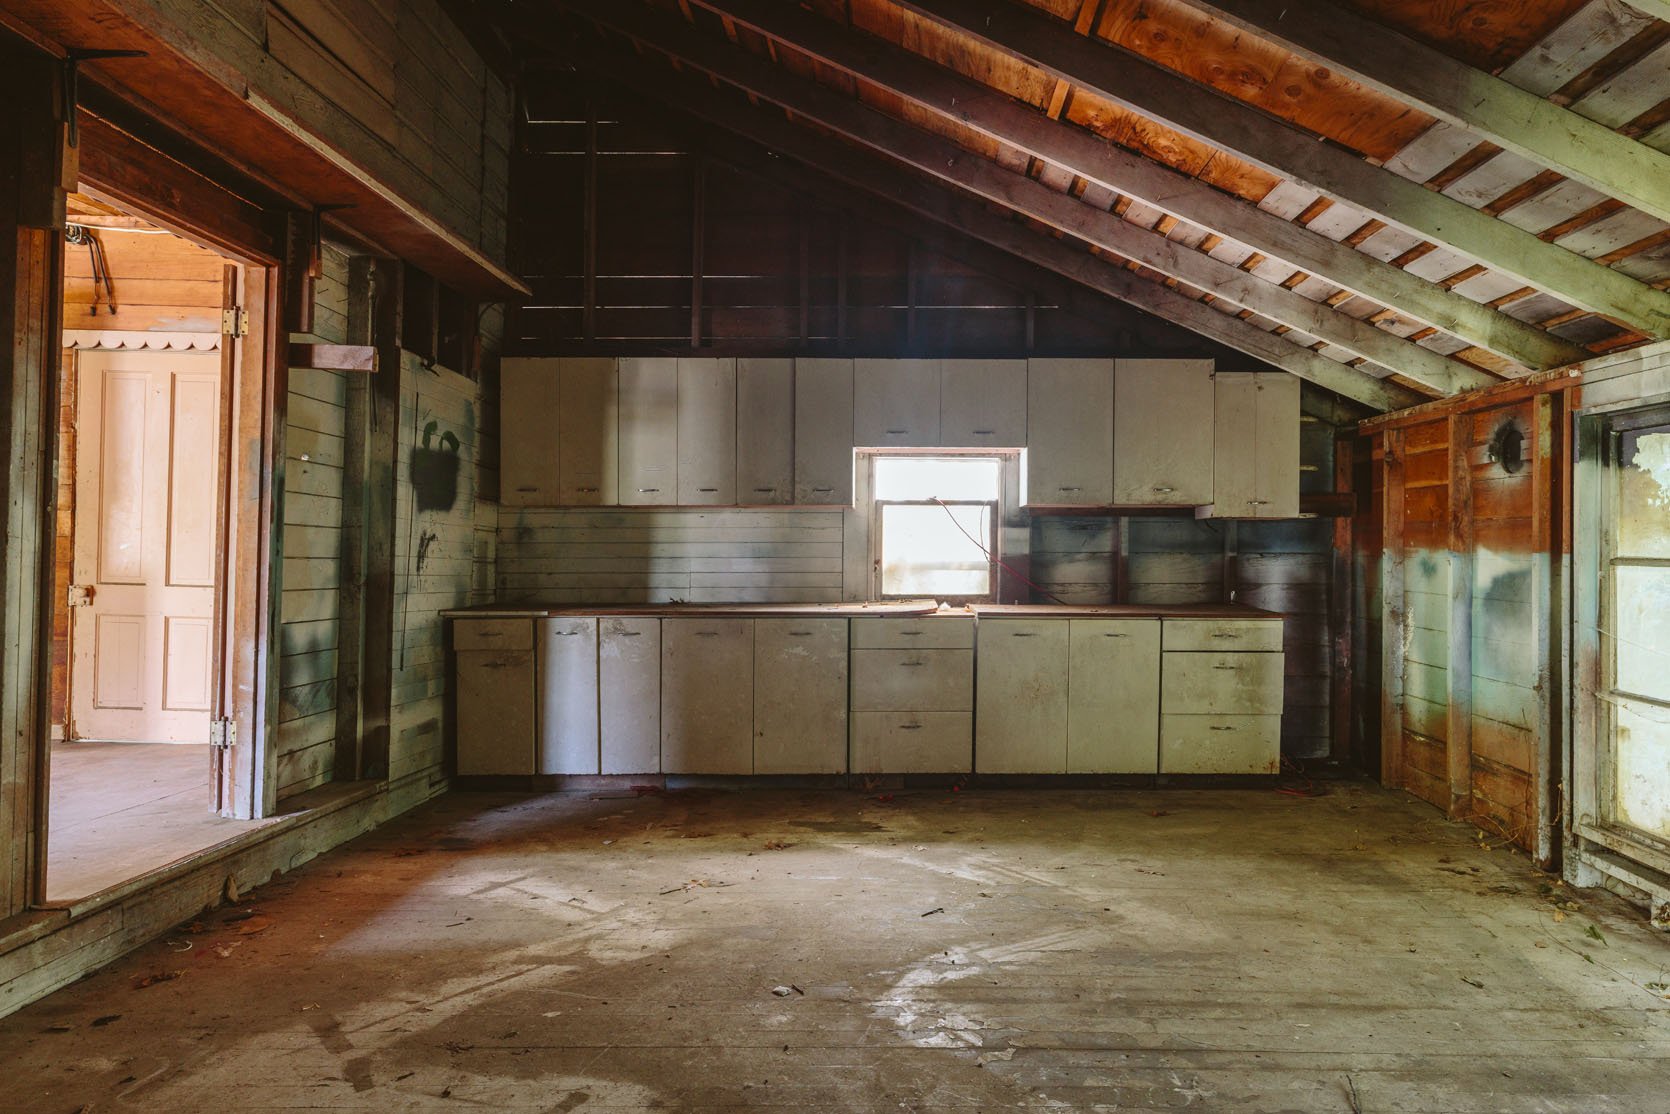
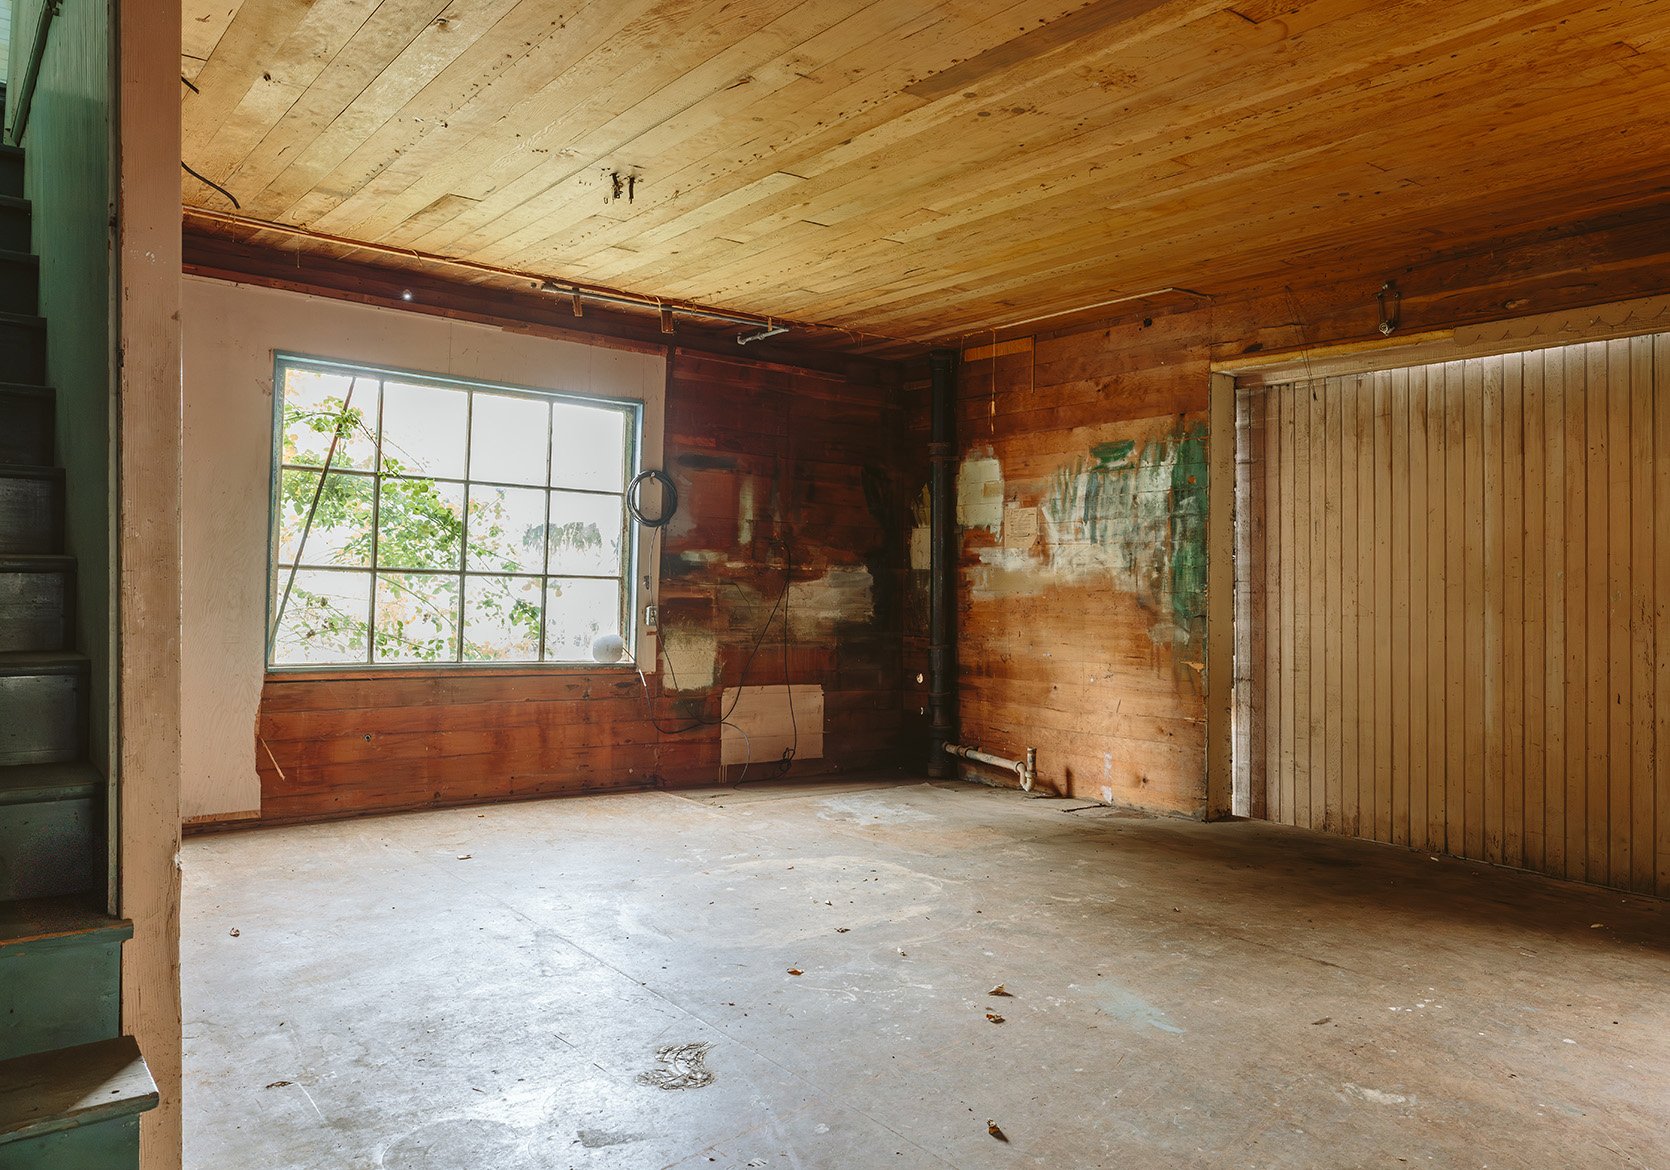
This room had all aluminum cabinets from the 40’s or 50’s that weren’t in great shape. It was actually very easy to remove and very lightweight. It’s a very large room, with high ceilings, and the walls and ceiling are in need of repair (and should be properly repaired).
During the DIY demo:
We were able to pull out the cabinets and either Ken or Brian could carry them out themselves. These two are very strong men. These were much easier to remove than the solid wood cabinets in the other rooms.

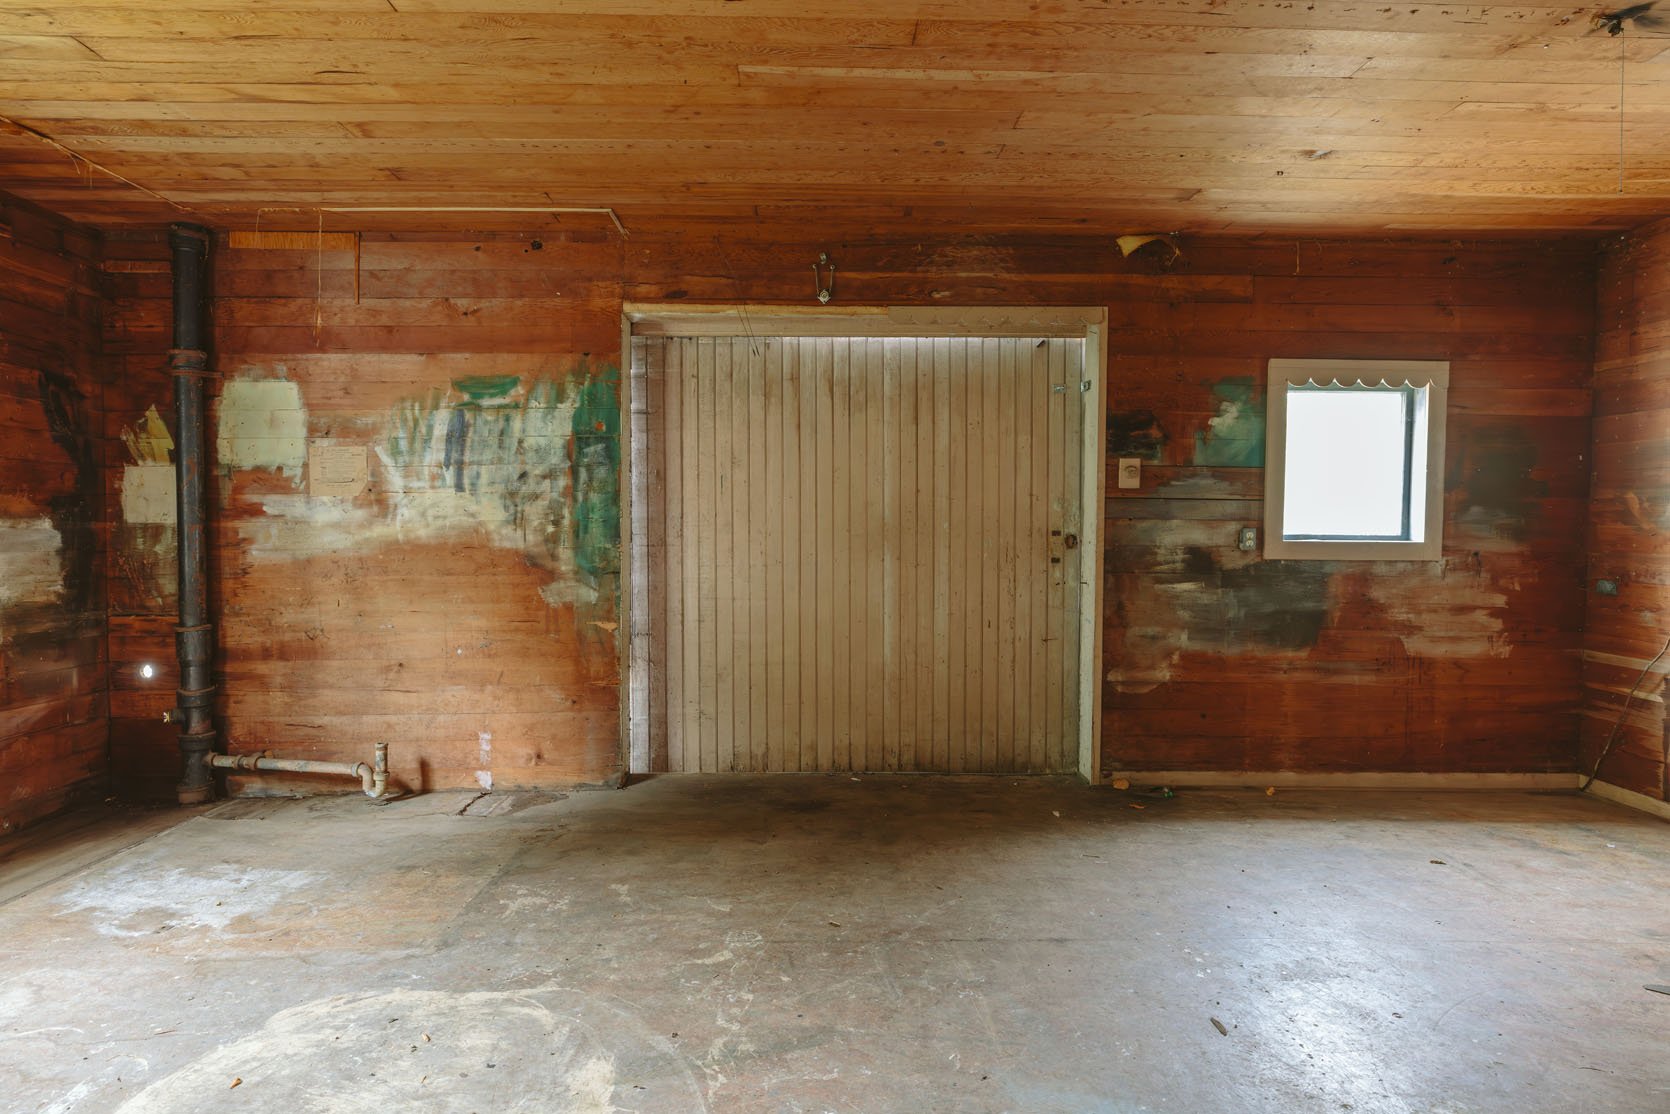
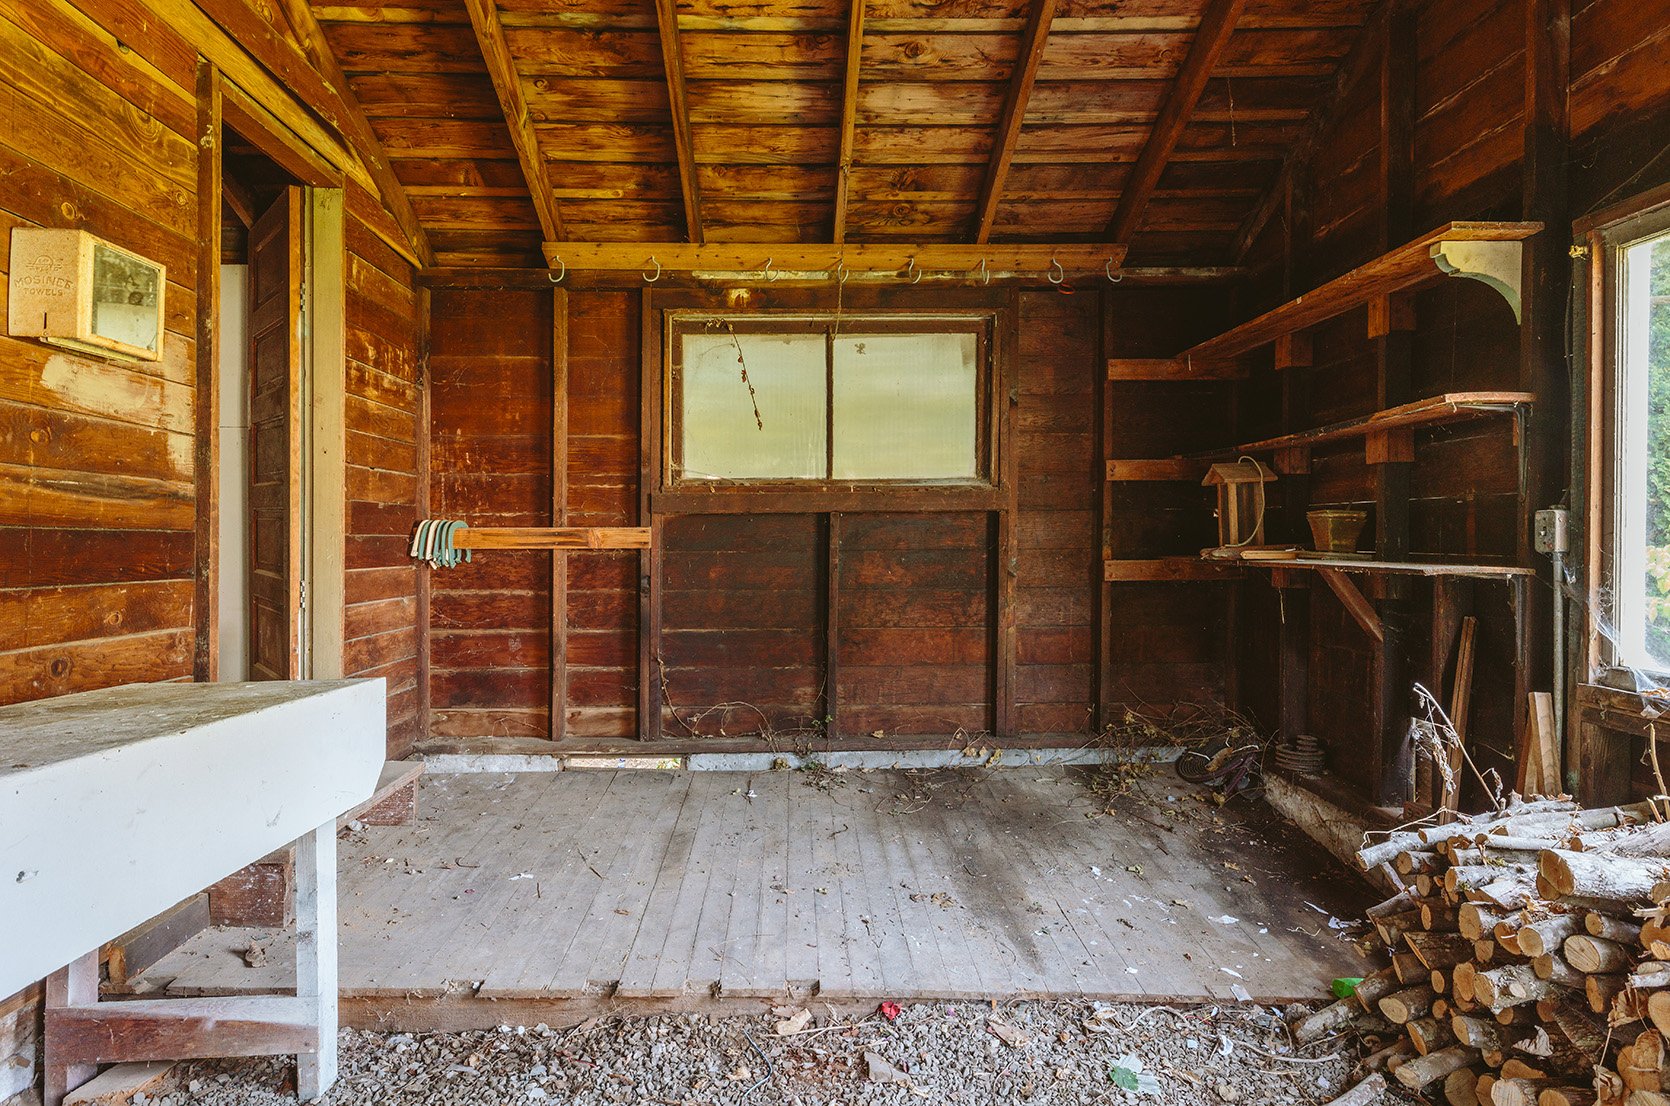
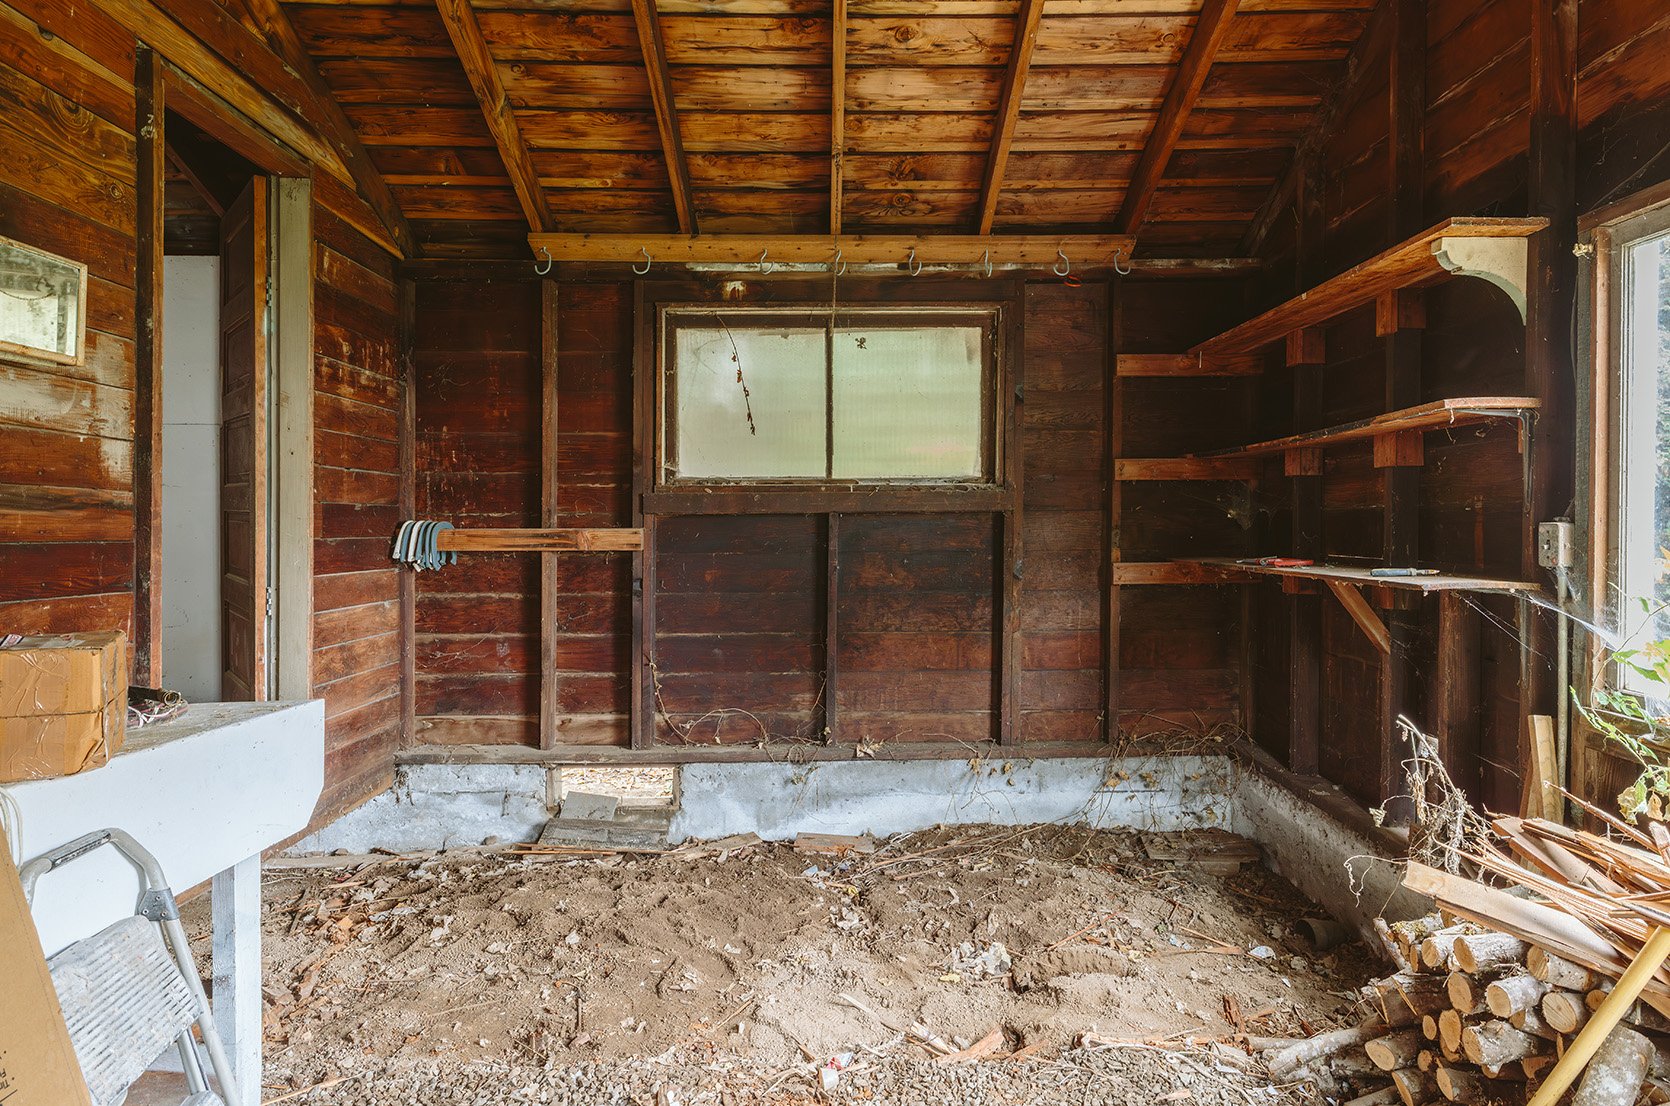
“Gardening room”
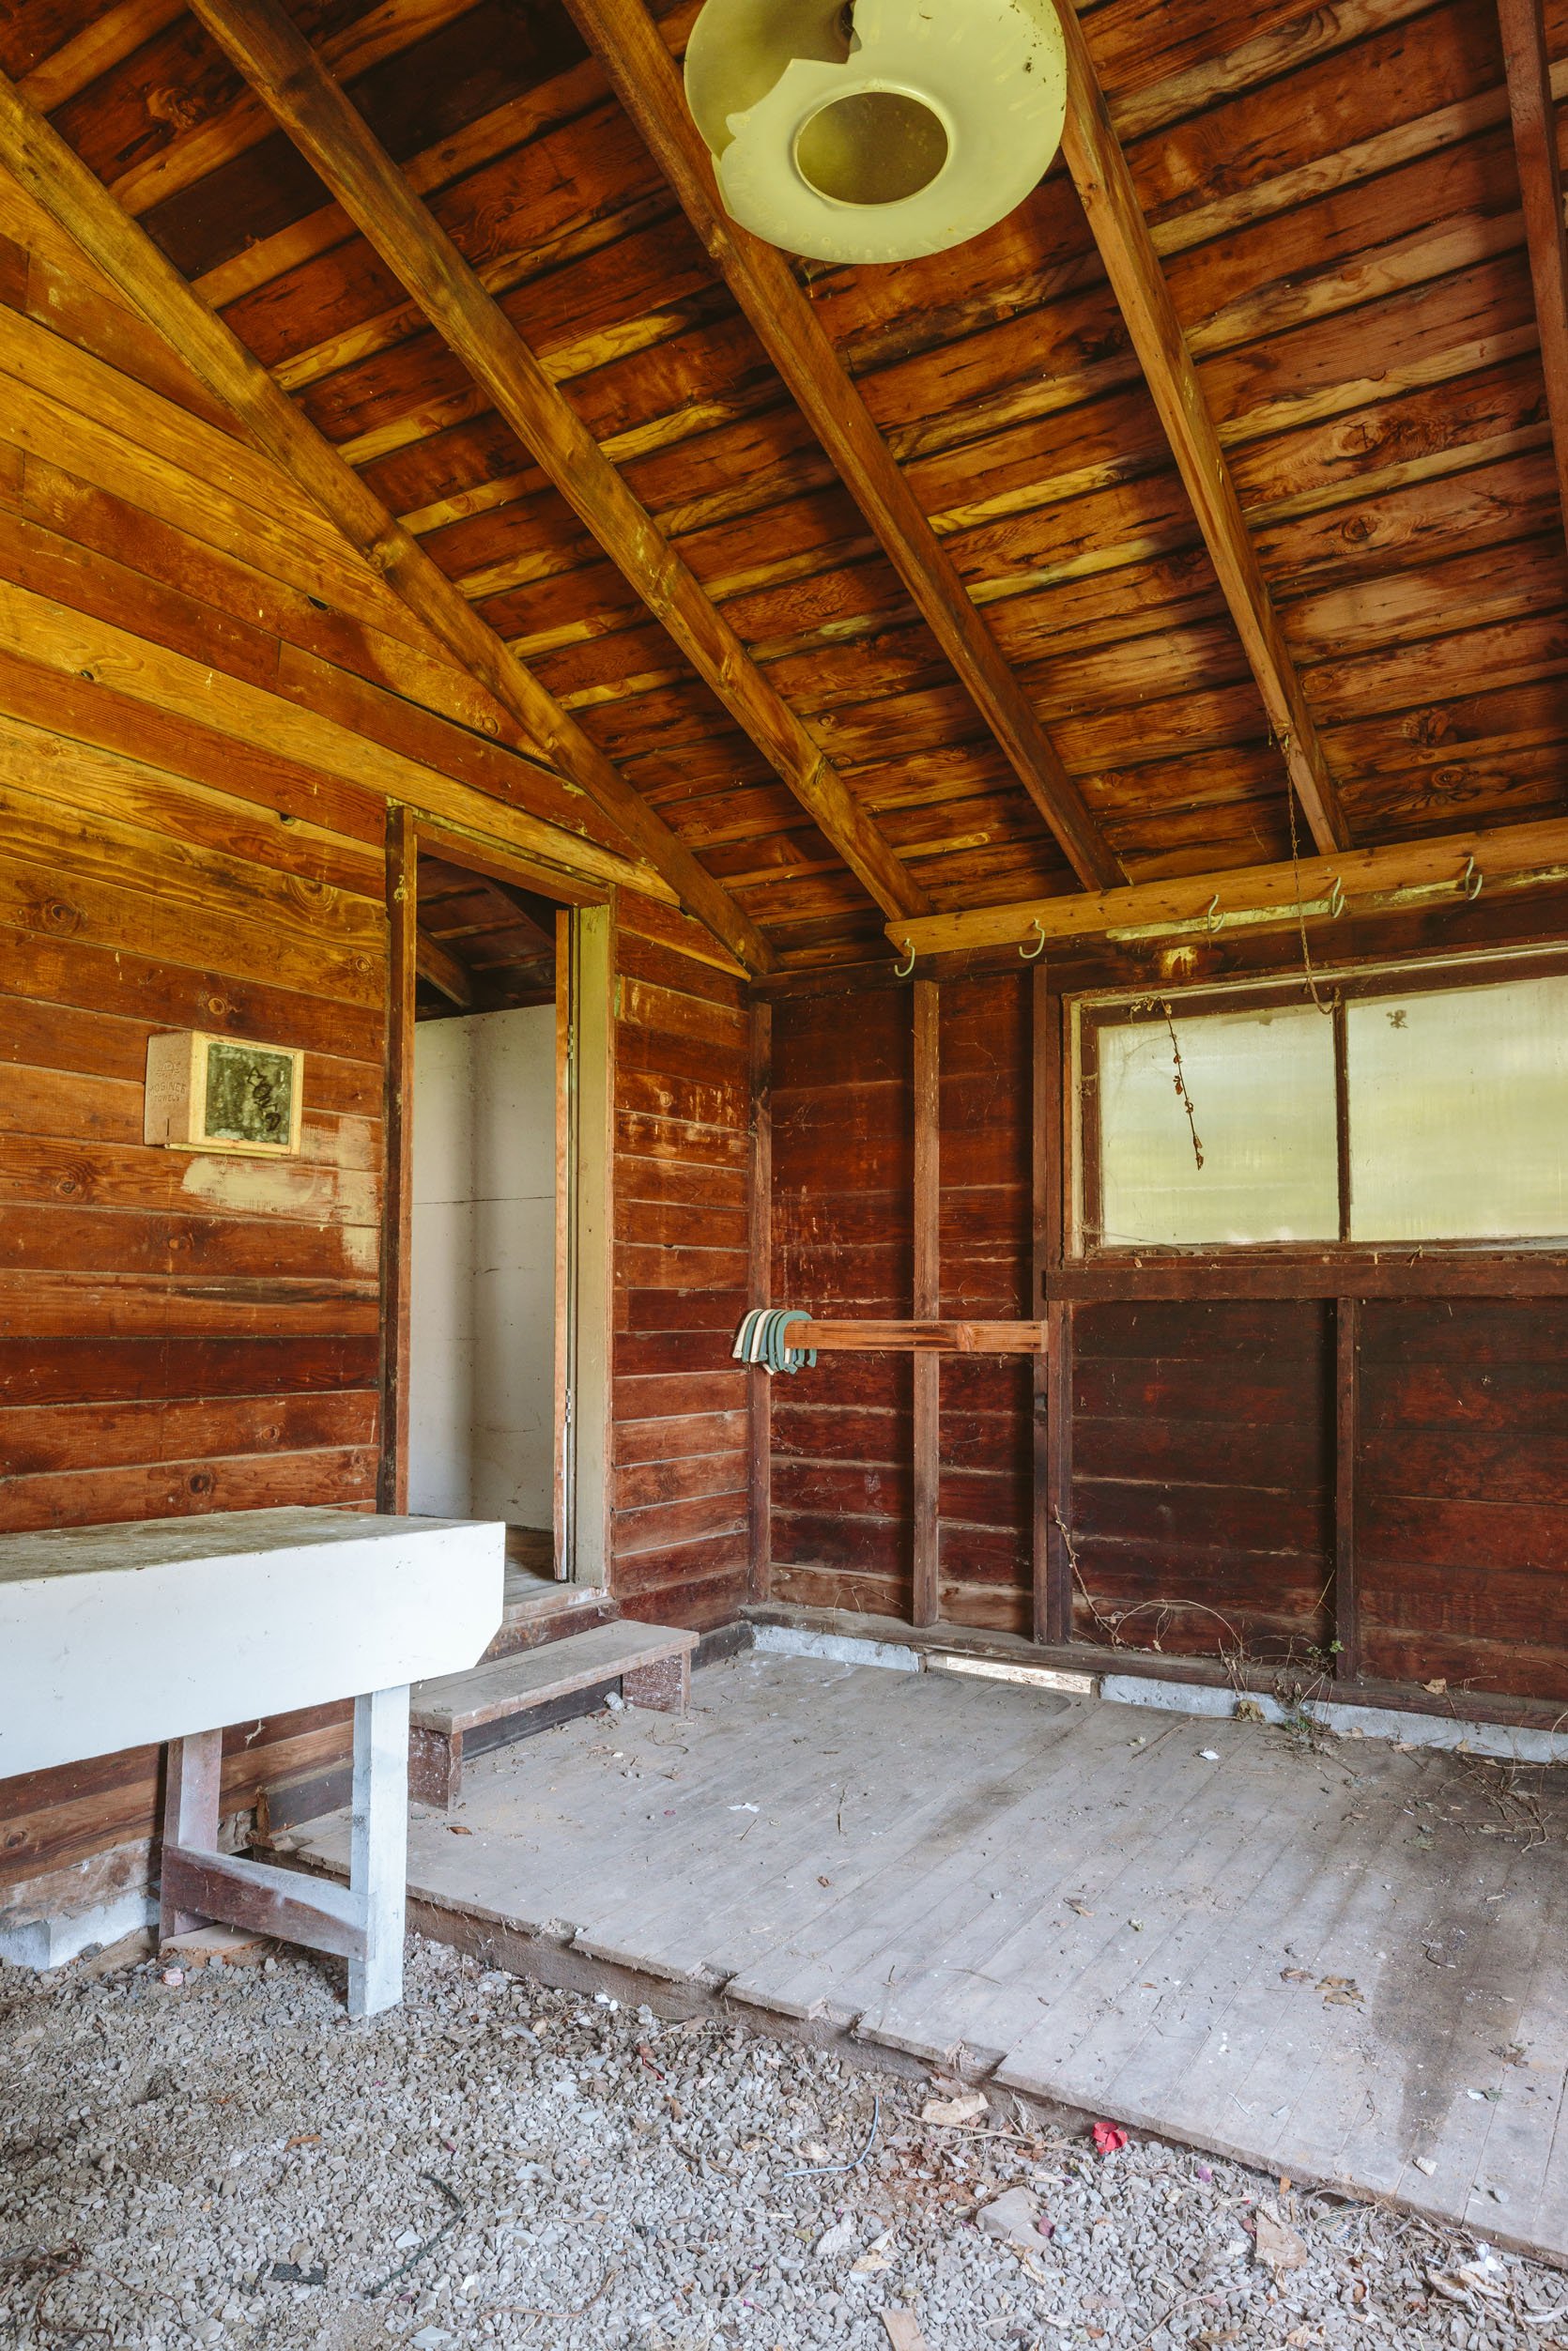
In most cases, this room simply requires ripping out the old floor and allowing you to start fresh with either a framed floor or a poured slab (we lean toward framing for plumbing reasons). More on that later. Now, this part was really boring for Brian (it was too dangerous for both of us to do it. He had to rip it off with all his might with a crowbar, and no one could get within 10 feet of this guy. This took him the longest, probably 2 hours here alone.
Here’s how it all happened:
We rented a 30 yard dumpster. My brother thought 20 meters was enough, but since you can’t go over the edge, you had to be more strategic about how you put things in. He was right – 30 was perfect. I think the cost was $950 + pickup/delivery, for a total of about $1,200. They dropped it off on Thursday and picked it up the following Tuesday.
Most of the demo was completed in 3 hours. Ken left after lunch, but Brian stayed to finish the floor, but it took a while.
It wasn’t as helpful as I thought. I didn’t like swinging the hammer as much as I thought, so I ended up throwing most of it in the trash. I couldn’t trust myself not to hit something that could fly across the room and hurt someone. By nature, I much prefer to take care of something rather than destroy it by force. I was very, very, very grateful to Ken and Brian for really stepping up and doing a really good job demonstrating this home – it really needed all kinds of things 🙂
Now, this demo work was very easy as there was no need to open the wall. There was no need to remove old drywall or full insulation. The walls are either paneled and very beautiful (not removed) or already open. Since the asbestos had already been removed (aside from the knob and tube wiring), it was actually only part of the cabinet.
Wait, you mean you’re not opening the walls at all?
If you’re already wondering how to install plumbing and electricity without opening the walls, that’s a great question. My hope is that unless the electrician is willing to remove some panels and run it through there, they’ll likely consider running the electricity through the exposed conduit. In the UK there are lots of options for good brass conduit systems to install outside the wall (we have lots of stone/plaster/brick buildings in the UK that we don’t want to demo). So I’m looking into what can be legally used here (I’ve found) jim lawrence and Workshops below). You can hide the plumbing more easily by placing it only in the corner of your home’s kitchen or feeding a new bathroom below the house. But lighting and outlets will become more important, which is an exciting challenge to solve. We have considered copper conduit and painted conduit, but any suggestions are welcome. Are there any American companies that make substantial conduit systems? I know I can buy parts from a British company, but their plugs and light switches are clearly not compliant with our system, so I don’t know what to do about them.
What about heating and air conditioning?
We do not use duct systems for heating and cooling. We’re doing a quilted mini-split (we have one in the gym and love it! I’m excited to be able to use panels to match each room. I might install underfloor heating in the bathroom and convince them not to install a mini-split there.) green sabers We will be creating estimates and maps soon, so you’ll know the situation soon.
Next step?
Well, we are planning to repair the foundation in early December, but the work time will probably be 5-7 days (shout out) Basics firstthey are very much working on it so far). They do it because they can do simple repairs without any permits or skills. What kind of permits will be needed (or whether individual submarines will receive permits) is still being worked out. That’s not my strong point, but I’m very, very excited because there are a lot of design elements that I want to show you. I’m pretty intimidated by the permitting process. I jumped at the city’s free 15 minute consultation and felt like I was in trouble the whole time, but I think it’s the city’s job to try and get all the permits possible (I don’t think anyone would believe that we wouldn’t use this as a rentable ADU, but that’s not the case!). I’m enjoying it first-hand, and since this is a very public project, I haven’t done anything that might not be considered to be more than 100%. It’s also completely stress-free, which is great (again, because you don’t have to rush to get it done).
*Cute pictures: caitlin green
Source: Emily Henderson – stylebyemilyhenderson.com

