


Thank you to Nordstrom for sponsoring this post.
Scarf as top // Four coloured pants (It looks great again This top)// shoes // lipstick (Mischievous)
Big moment for a high pony! I’m usually an exclusively low-breaded woman, but I’ve been experimenting a bit lately. I’ll turn to Nordstrom for some new beauty products and complete the high pony look – from all I’ll get treatment In Superfine Strong Hold Hairspray In The perfect brush!
Below we’ll break down in stages how to achieve this look. My high-class pony tutorial begins…
My high quality pony tutorial
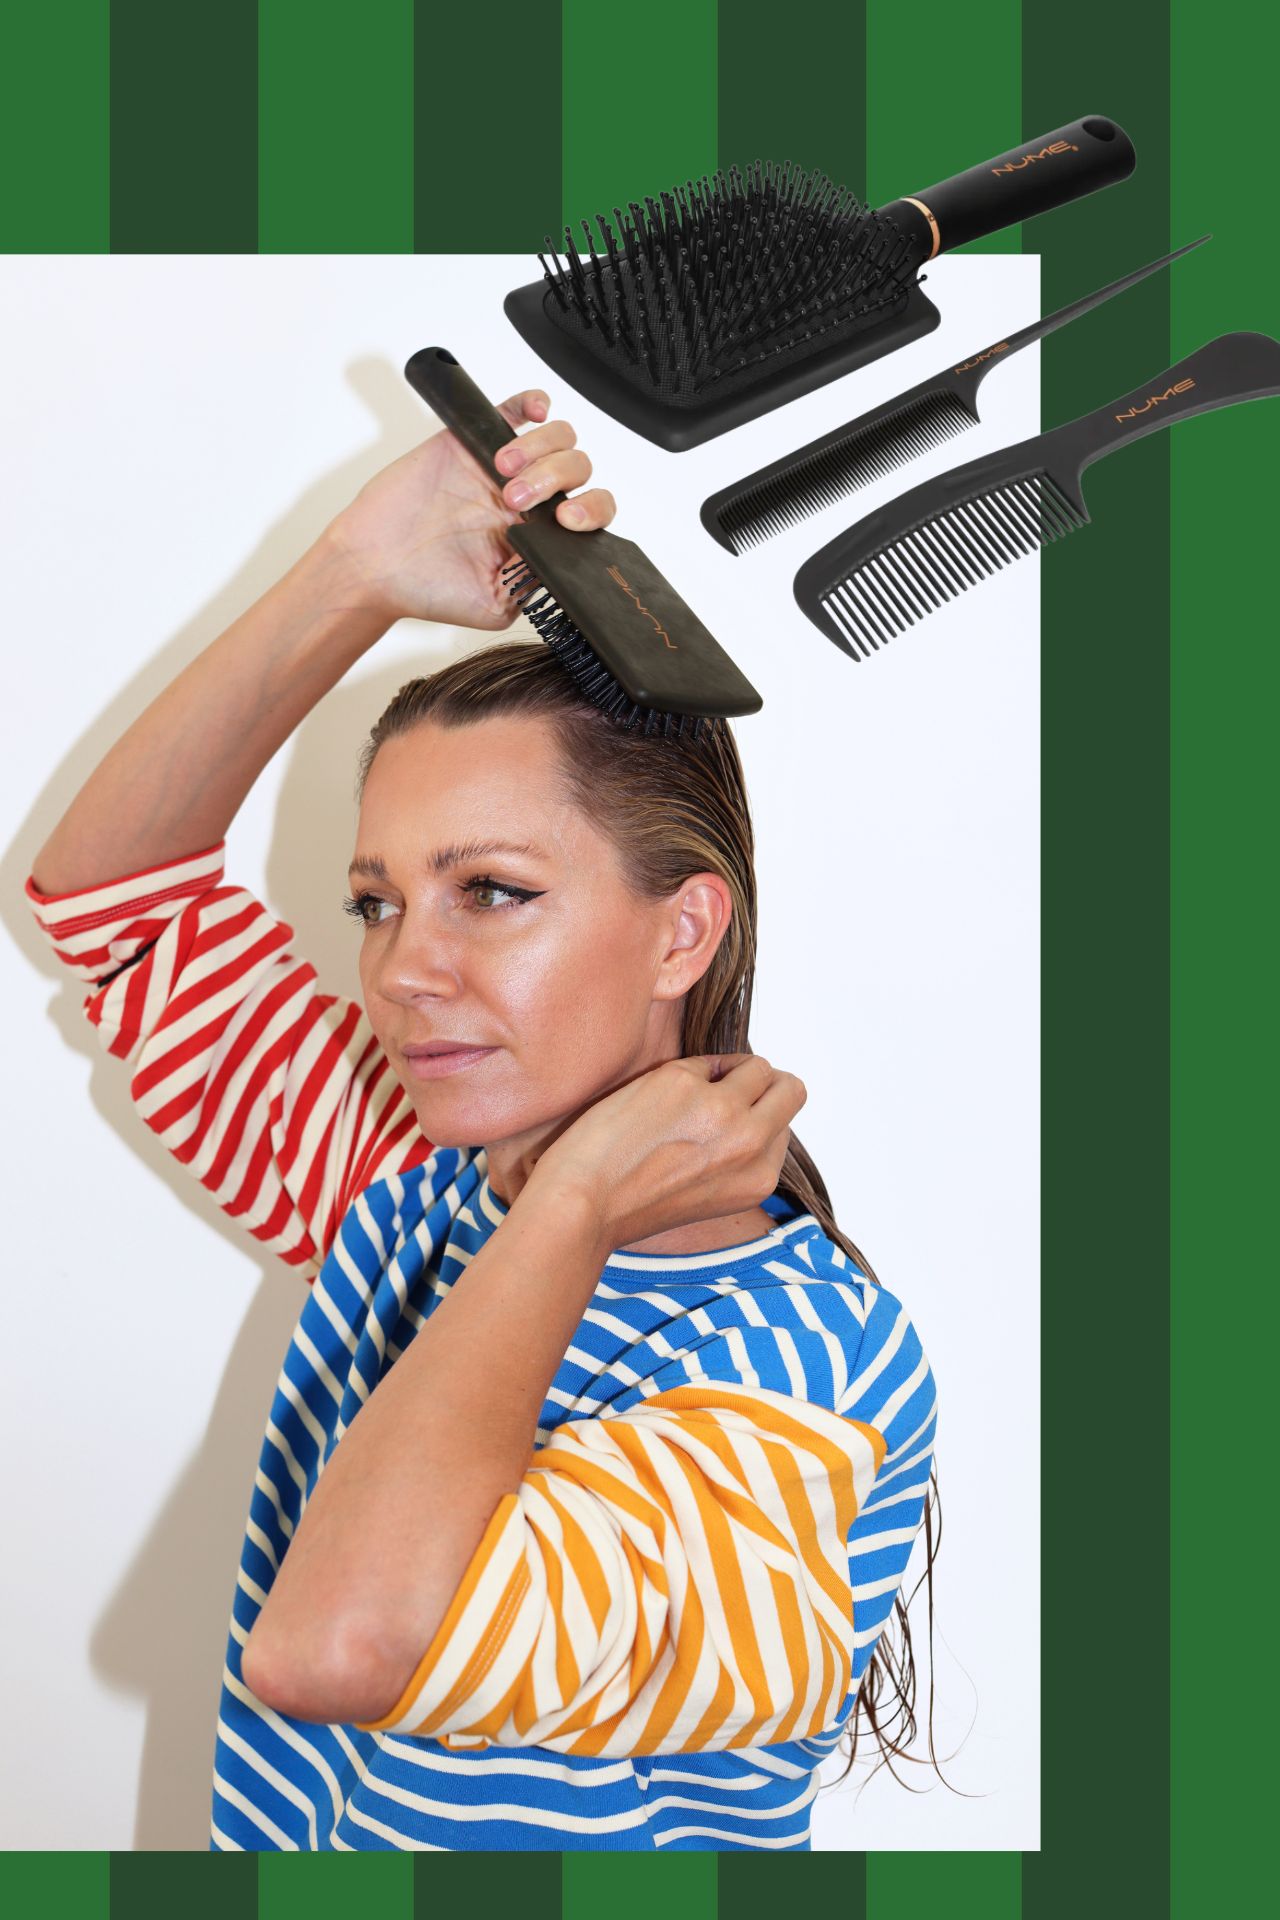
Step 1 //That’s why I like to start with wet hair. I take moist hair more often on the product and I think it’s easier to smooth the back. Towards the end of this tutorial, you will find that after achieving the refined crown you are looking for, you will be able to dry your pony. I’m using this step This hairbrush What I’ve loved and used for the past year!
Step 2 //To protect thin hair, I always apply treatment leave. This helps reduce breakage and frizz and better hide the split ends. Here I use it This formulaBut I use it too This one Same!
Step 3 //When it comes to achieving a smooth rear look, mousse is your best friend. It really helps to grow your hair and help it stay in place all day long. This mousse Great, and I love it being available in travel size for us who are always on the go!
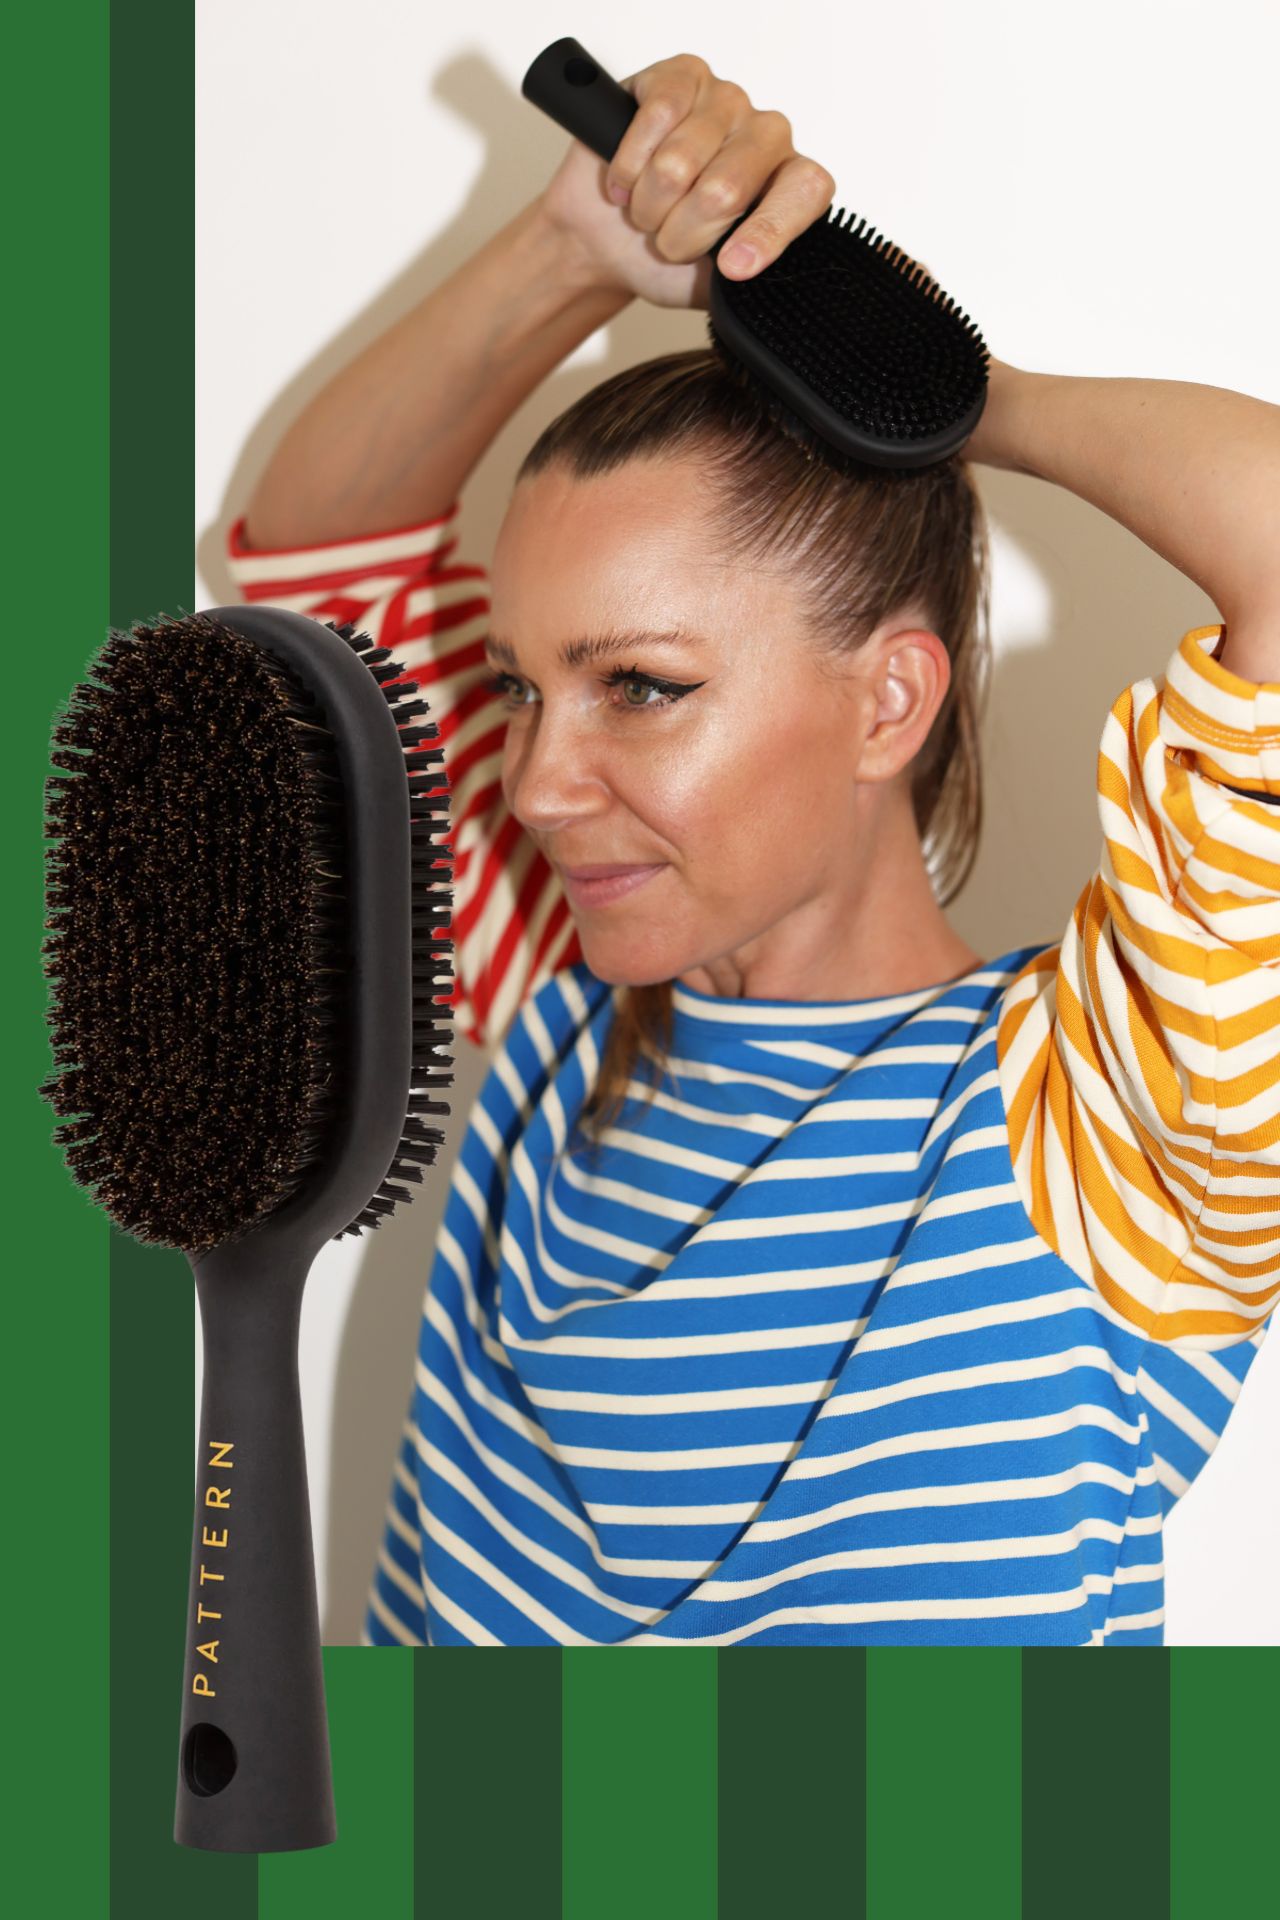
Step 4 //Okay, it’s time to smooth out this baby! I have it Boar bristle brush Or something similar is the *key* for lining up your hair. While I’m using This brush To put your hair in the first ponytail (place it on the crown of your head and collect it), hold the hair back (there is no hair tie yet), use a boar bristle brush to smooth your hair for the cleanest look possible. Even my low panty requires some practice to revert your hair back in a truly smooth and even way. Don’t be discouraged if you need time and some extra attempts.
Step 5 // Add some sparkle to make it smooth no matter what you wander! I use it This oil (Very generous) Once secured with a hair tie, smooth all your hair. This adds glow, protects your hair, and leaves some of those tough flyaways lying flat.
Step 6 // I’ll secure it. Hairspray will ensure everything you did until this point is placed! For me, spending so much on Florida’s humidity is cruel. This hair spray Even the tough weather lasts all day for me!
Step 7 // Now, turn to the actual ponytail. It may still be damp at this point, so it is recommended to blow it off before styling. I used it This professional blow dryer For age and absolutely love it.
Step 8 // I prefer to have a little height on the pony. My hair is healthy and tends to get limp, so I use a dry ponytail split in half This teasing brush Backcom the ponytail to add volume. If the ponytail happens to look cluttered on the outside, then just use this Same brush To smooth everything out!
Step 9 //Okay, you’re all done. I’ll do it once, and if there are some nasty flyaway hair left, just use it This pomade stick To smooth them out. If your ponytail feels a little too sloppy to your liking, just touch it and run it to smooth it out This oil.
I hope this helps – and someone will surely ask, so you can shop for under $100 for the mixed striped top I’m wearing here. And you have a different color option here!
Source: Atlantic-Pacific – www.the-atlantic-pacific.com

