


If you’ve finally made the jump to Nintendo Switch 2, first of all, congratulations. Once you’ve completed the basic setup, one of the first things you’ll want to do is transfer your existing games, along with your accounts, saved game settings (or preferences), etc., to your new console so you can pick up where you left off. Thankfully, Nintendo made the entire process of running your games Existing settings are carried over to Switch 2, so the data is very simple. Here’s how to transfer your old games and save data to Nintendo Switch 2.
Nintendo Switch 2: How to transfer old games and save data
Before transferring your old games to your Switch 2, make sure your original Switch and Switch 2 are fully charged and connected to the same Wi-Fi network. You’ll also need to update your original Switch to the latest system firmware and double-check that the user profiles you plan to migrate are linked to your Nintendo Account.
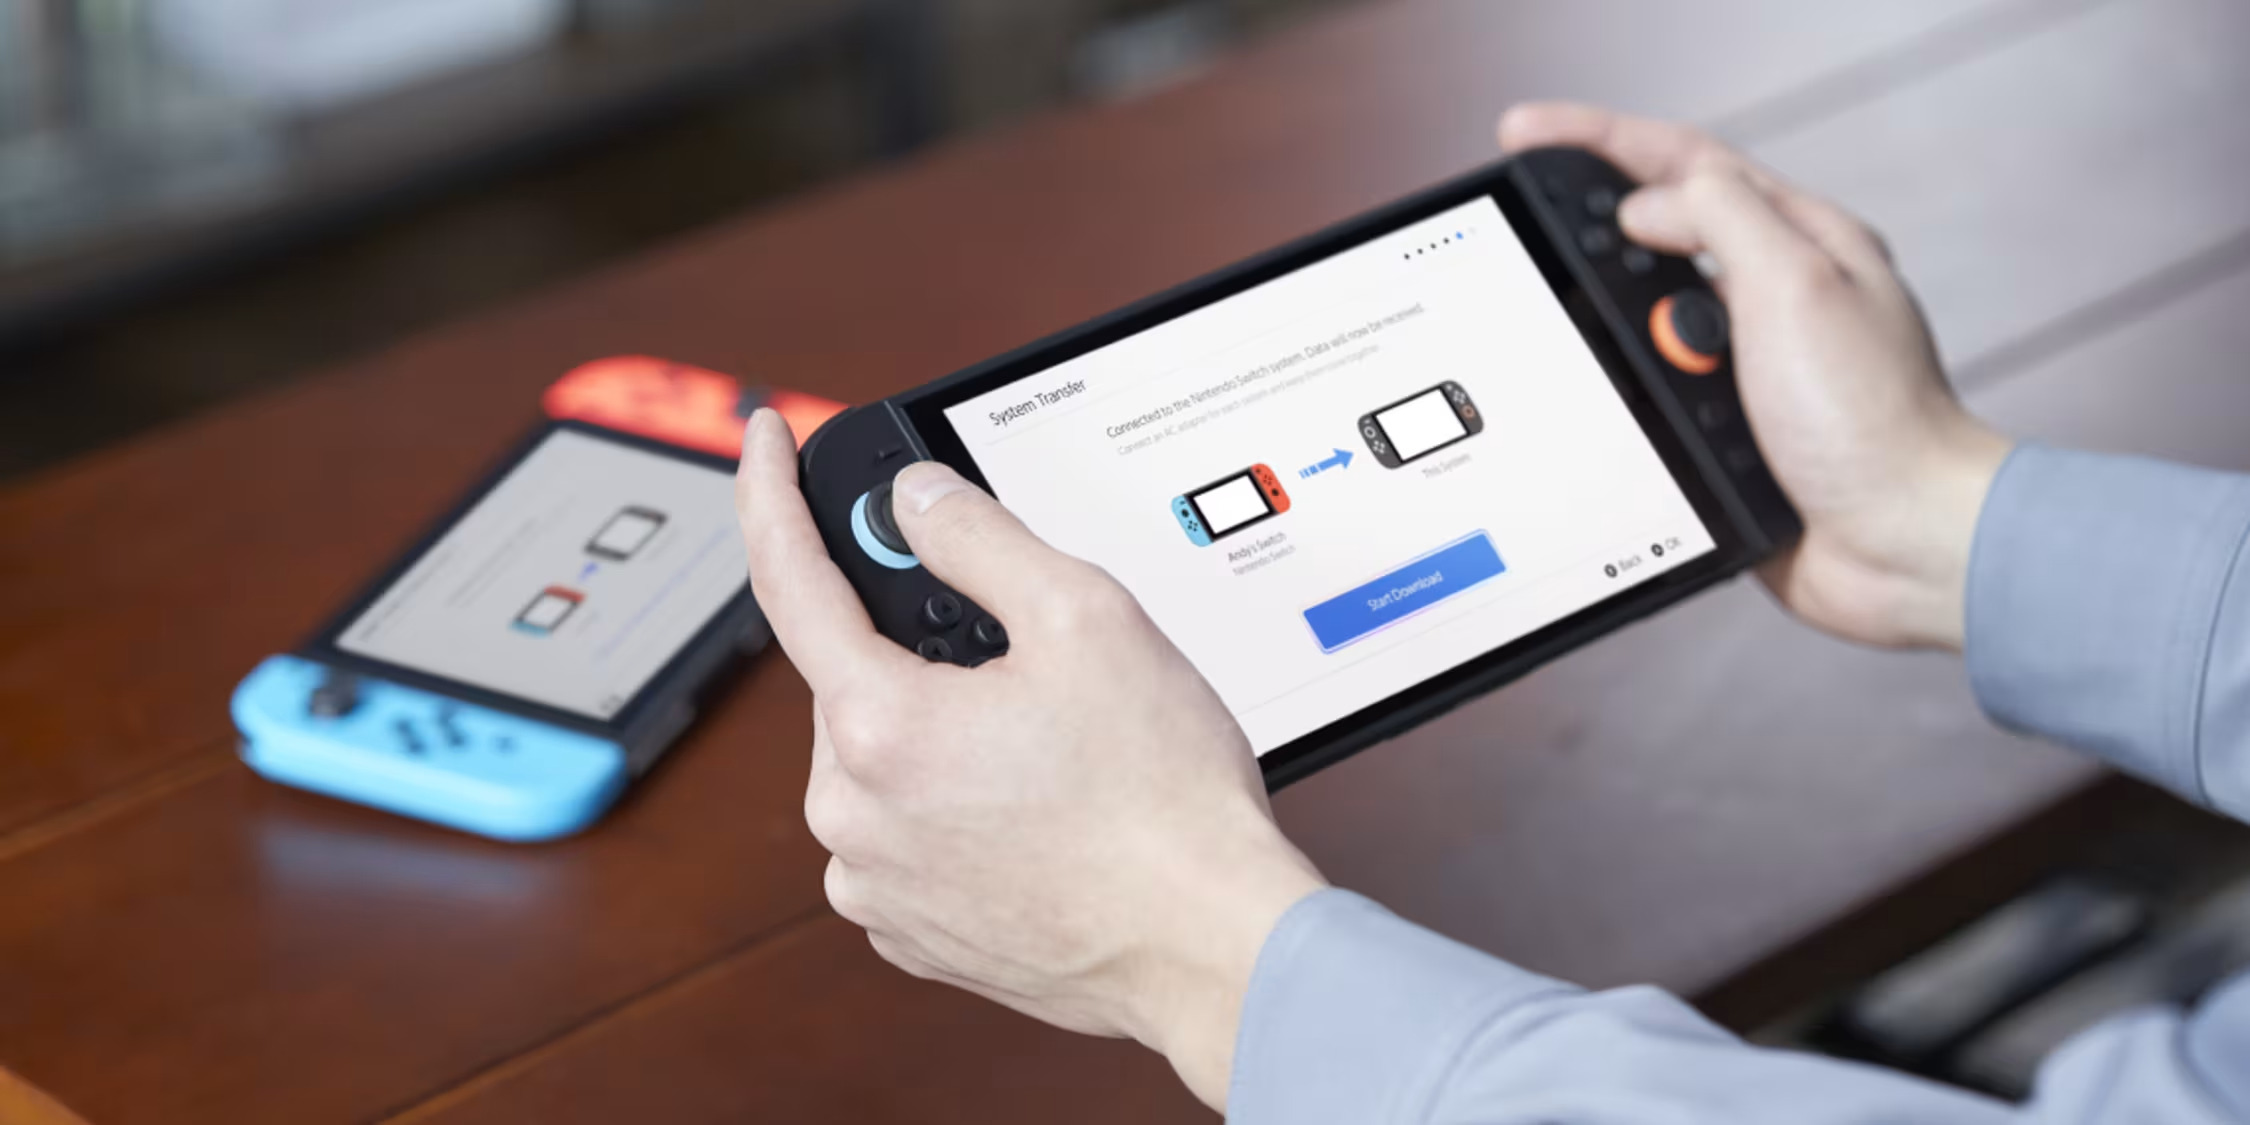
now, How to transfer old games to Switch 2Open System Settings on your original Nintendo Switch. From there, go to Users and select Migrate users and save data. Select the user profile you want to transfer, check the linked Nintendo account, and follow the on-screen instructions. Next, turn on your Nintendo Switch 2 and perform the initial settings. When the console asks if you want to transfer data from another system, select “Start system transfer. ”
Even if you’ve already set up your Switch 2.[システム設定]Proceed to[ユーザー]and from there select[ユーザーの転送とデータの保存]You can start the system transfer by selecting . Once Switch 2 detects your original Switch, it will guide you through pairing the two consoles. The transfer of your user profile, saved data, and settings will then begin automatically.
Once the migration is complete, log in to your Switch 2 using your Nintendo Account. Nintendo System Transfer does a very good job of moving everything associated with your Nintendo account to your Switch 2, including your user profile, purchased digital games, save data for compatible titles, system settings and parental controls, Nintendo Switch Online membership, screenshots and video captures, and more.
For those that don’t transfer automatically, you’ll need to manually configure some things, such as Bluetooth connectivity for controllers, headphones, and other accessories. Additionally, your password won’t carry over, so you’ll have to sign in to your Wi-Fi network again. Finally, for some housekeeping, take a quick look at your system and game settings after the transfer to make sure everything is set up the way you want.
For more gaming news and guides, be sure to check out our gaming page.
Source: Our Culture – ourculturemag.com

