I remember the first time I tried eye makeup. I was confused and anxious. If you’re feeling the same, it’s understandable. It’s normal to feel overwhelmed when you first start. Where do I start? What products should I use? Most importantly, how can I achieve a natural-looking eye makeup look as a beginner?
I had the same question. In this step-by-step guide, I’ll share the tips that helped me make the process easy and fun, and you’ll achieve beautiful, natural-looking eye makeup.
But before we get to the steps, let’s cover some basics.
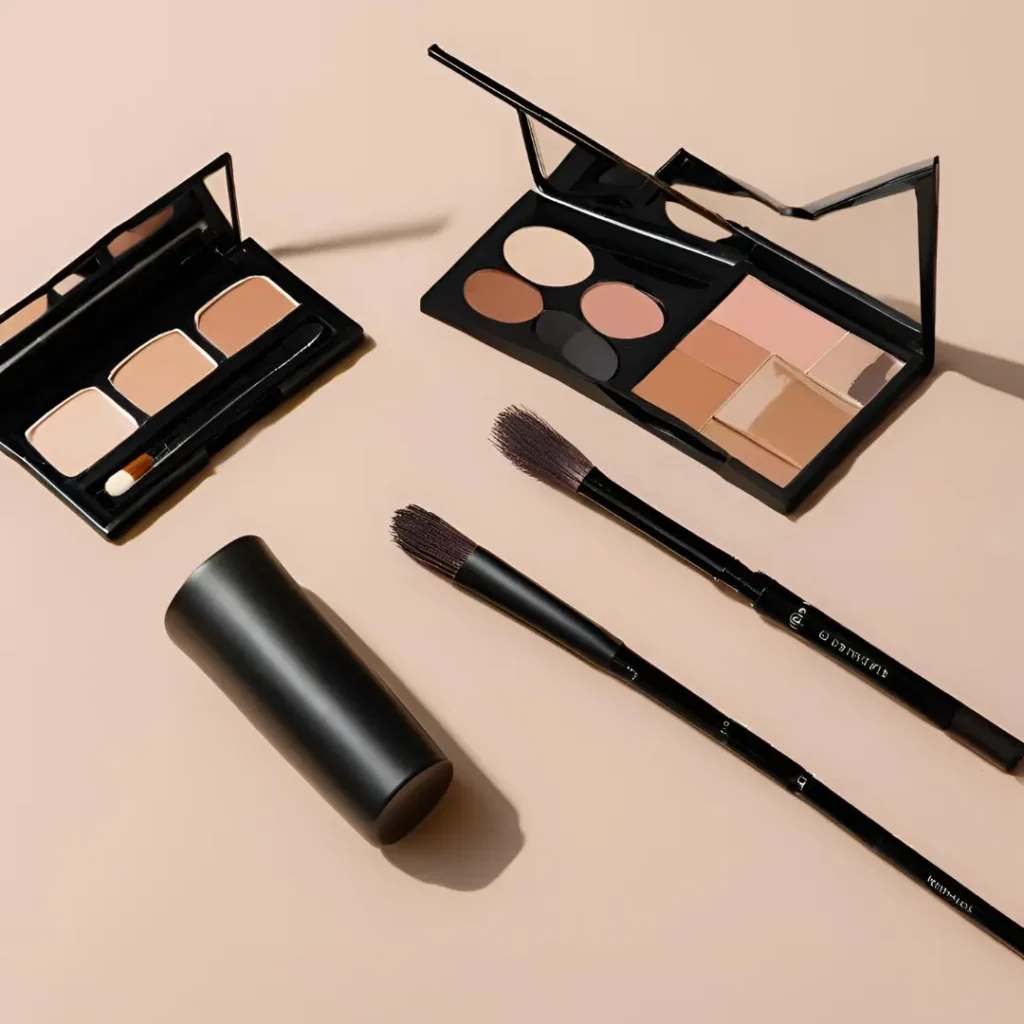
Essential Tools and Products
As you get started, it helps to gather the right tools and products, which will make the experience smoother and more enjoyable.
Tools needed:
- Eyeshadow Brush: A small fluffy brush for smudges and a flat brush for adding shadows.
- Eyeliner Brush: If you use gel or cream eyeliner, a small angled brush is useful.
- Mascara Wand: A good wand can naturally lift your lashes and make them appear longer.
Required Products:
- Eyeshadow Palette: Opt for a palette of neutral hues such as beige, taupe, and brown.
- Eyeliner: For a subtle look, use a brown or black pencil or gel liner.
- mascara: A mascara that adds volume and length while giving a natural look.

Now let’s get to the fun part of eye makeup!
Step-by-step natural eye makeup tutorial for beginners
Eye makeup is a great way to enhance your eyes with a subtle and elegant touch. It not only enhances your natural beauty but also boosts your confidence and makes you feel more powerful.
Step 1: Cleanse your eyelids
Before applying eyeshadow, make sure your eyelids are clean and dry. This step is important to ensure your eye makeup applies smoothly and lasts longer. If your eyelids are oily, use a gentle cleanser to cleanse them. It’s a small move, but it matters!
Step 2: Apply eye primer or concealer
NextApply a thin layer of eyeshadow primer or concealer to your eyelids. This will act as a base and make your eyeshadow look more vibrant. If you don’t have a primer, a thin concealer will work just as well. Blend evenly over your entire eyelid.
Step 3: Use a Neutral Base Shade
Pick a light neutral color that suits your skin tone, such as cream or beige. Using a fluffy brush, apply this color to your eyelids. Blend upwards towards your brow bone. This step evens out your skin tone and provides a clean canvas for the other colors.
Step 4: Add color with medium shades
Choose a neutral color, such as a soft brown or light purple. Using a soft brush, gently apply this color in the crease of your eyelid (the crease above your eye). Blend the color using small circular motions to create a smooth, natural finish.
Step 5: Use darker tones for more definition
To add depth to your look, choose a darker shade like taupe or deep mauve. Apply to the outer corner of your upper lid. Also, lightly brush the color onto the outer lashes of your lower lashes.
Use a small brush to blend the darker color so that it looks smooth without any hard lines. This step will make your eyes look more defined.
Step 6: Add shine
If you want to add some sparkle, choose a light, shimmery shade and apply it to the centre of your eyelid, where the light naturally hits it. This will create a glow and make your eyes look livelier and fresher, whilst still maintaining a natural look.
Step 7: Finish with mascara
To achieve a natural eyeshadow look, curl your lashes and apply mascara. This step will open up your eyes and improve the overall effect of your eye makeup. Use a mascara that will lengthen and separate your lashes for a natural, full look.
Read also: How to make your eyelashes longer and thicker at home
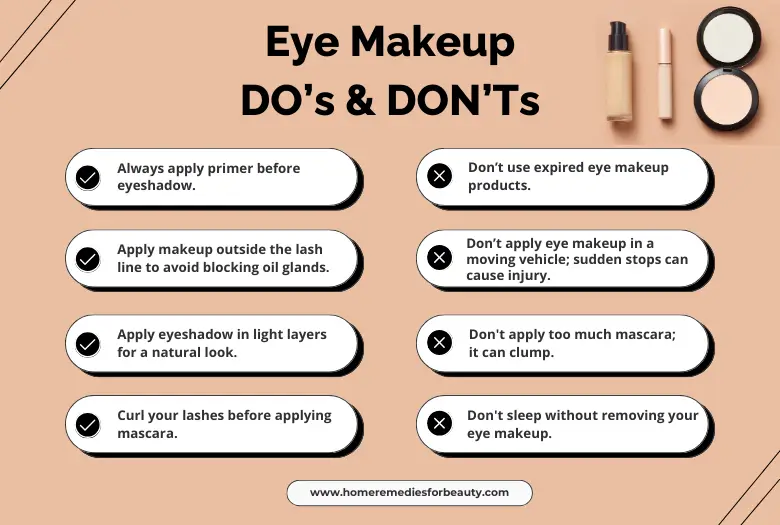
7 Common Eye Makeup Mistakes to Avoid
Many people make small mistakes with their eye makeup that change their look. Avoiding these small mistakes can really improve your look. Let’s take a look at some tips that will help you.
1. Not cleaning your eyelids: Before you start applying makeup, make sure you clean and dry your eyelids thoroughly, as dirty or oily eyelids can cause your makeup to smudge or come off quickly.
2. Skip Primer: If you don’t use a primer or concealer, your eyeshadow may come off and crease, so be sure to use a primer to make the color pop and make your makeup last longer.
3. Using the wrong brush: Each brush has a purpose: fluffy brushes for blending, small brushes for corners and tight areas, which allows the colors to blend together nicely.
4. Not blending eyeshadow properly: If you don’t blend your eyeshadow well, it can look patchy or harsh, so always blend gently to make sure everything looks smooth and natural.
5. Too much glitter: Apply a light layer of glitter only to the center of your lid, as too much glitter can make your eyes look heavy or overdone.
6. How to apply eyeliner incorrectly: When applying eyeliner, make sure to follow your lash line – if the line is too thick or uneven, it will make your eyes look smaller. Unsure about your technique? Check out our beginner’s guide to applying eyeliner.
7. Applying mascara in a hurry: Apply multiple layers of mascara, but wait a little while for each layer to dry – if you rush it, your lashes will look caked.
Avoid these common mistakes and your eye makeup will look flawless and last longer.

Conclusion of Natural Eye Makeup Tutorial
This guide has easy step-by-step eye makeup tutorials. It covers the basics of a natural look. With these tips and avoiding mistakes, you can achieve a fresh and easy style. Makeup is a fun way to express your personality, so keep practicing to find your best look. Have fun and be yourself. Enjoy enhancing your natural beauty.
What is your favourite eye makeup? Share your simple everyday style in the comments!
Source: – homeremediesforbeauty.com


